• Close Menu
    • About
    • Calendar
    • Contact Us
    • Horizon Calendar
    • Photo Contest
    • Poll Archive
    • Sports Center
    • Staff
    • Subscribe
    • UnSubscribe

The Horizon Sun

Menu
RSS Feed
Flickr
Vimeo
Twitter
Facebook

The Horizon Sun

News & Campus Life for the Students of Horizon Honors

  • Campus Life
  • Student Opinion
  • Features
  • Sports
  • Staff
  • More »
    All content by Picasa
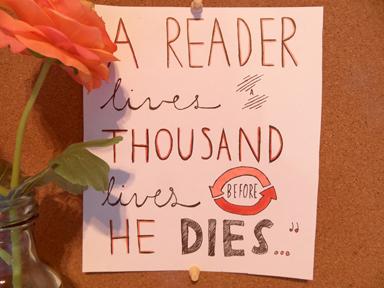
    Step 5) Display your piece in a frame, or put in on a bulletin board. Hand lettering is a great on birthday cards, to make a note meaningful, or to give as a gift.

    [PHOTO]

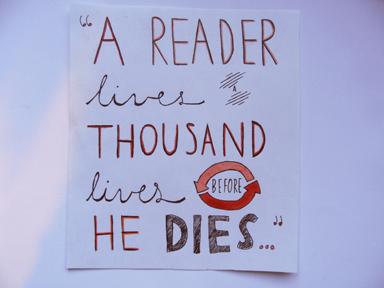
    Step 4) Use color to highlight some of the letters. Decorate parts of your piece to make them pop by using color to add a shadow or outline. Do not overdo it. If every word in your quote has color, it takes away the emphasis that you would like to place on certain words.

    [PHOTO]

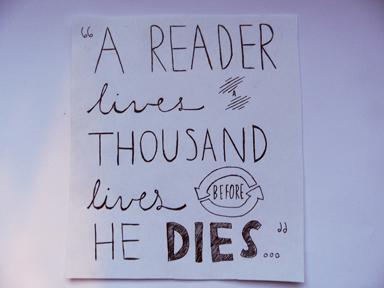
    Step 3) Use the ink pen or fine tip marker to outline your letters and to fill in some of them. If your piece is lacking value, darken some of the letters to make them wider.

    [PHOTO]

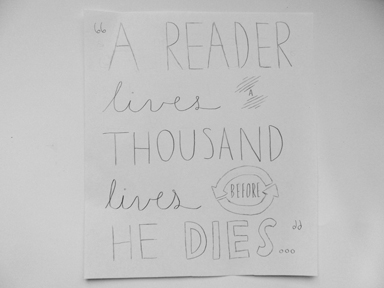
    Step 1) Pick out a quote to use. Be sure to pick a quote that is not too long; quotes with five to ten words are perfect. If a quote you like is too long, pick a part of the quote to use. I picked part of a quote from George RR. Martin: “A reader lives a thousand lives before he dies...”

Step 2) Try laying out your quote on a lined piece of paper. Use different sizes and styles of handwriting to add interest, but try to keep the piece balanced. Once you are pleased with how your design looks, copy the picture onto the cardstock lightly using a pencil.

    [PHOTO]

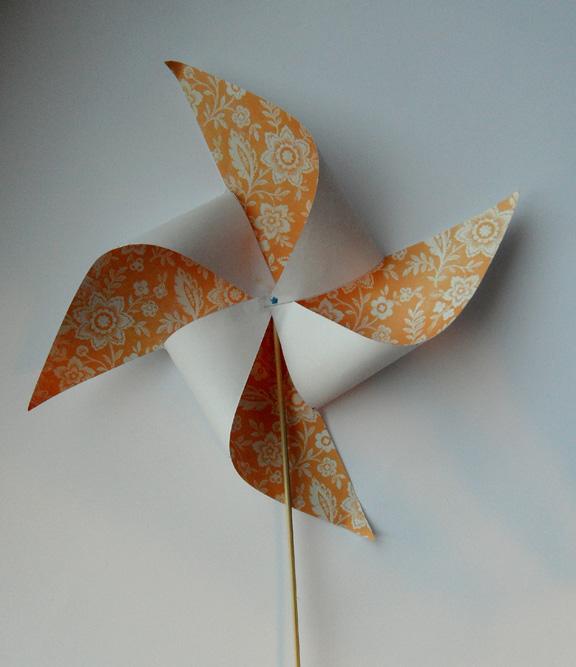
    3) Make a small hole in every other corner, and pull every other one into the center. Use a brad to hold them in place. Glue a stick into the center so that it can stand upright. Use the pinwheel as a lawn decoration, make mini pinwheels to glue onto crafts or scrapbooks, or use them to decorate a present. If you choose to put the pinwheel outside, be careful that it does not get wet.

    [PHOTO]

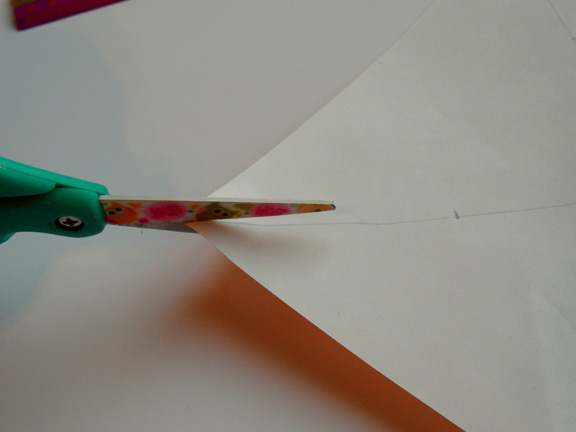
    2) Starting from the corner on each diagonal line, measure three inches in and make a mark. Snip each corner up to that mark.

    [PHOTO]

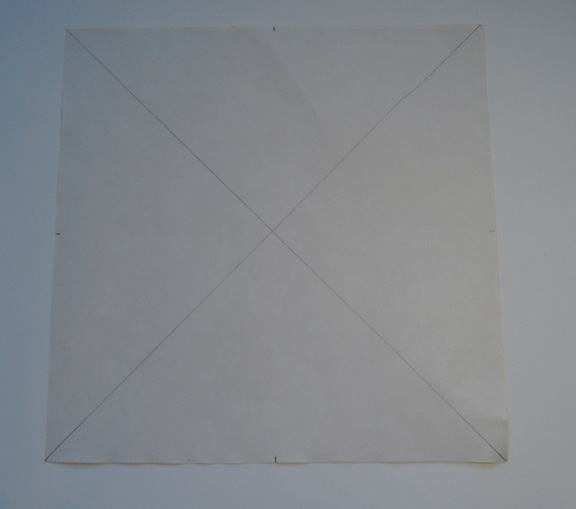
    1) Cut the paper into an 8x8 square. Mark the center of the square with a dot. Seperate the paper into four squares diagonally by marking it with a pencil.

    [PHOTO]

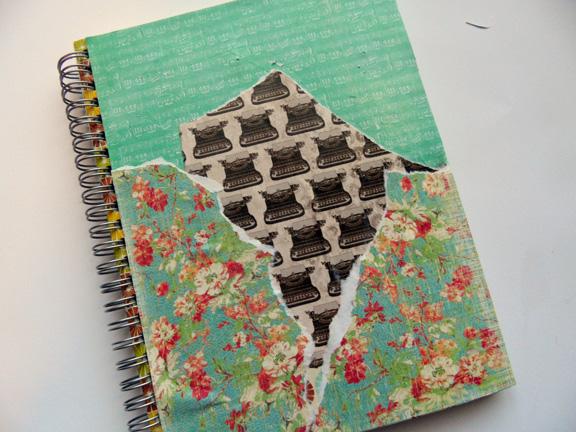
    3) Once all the pictures are in place, paint a second layer overtop of the pictures. Be careful that you allow the first layer of glue to dry completely before painting the second one overtop. The pictures tend to rip if they get too soggy.  Allow to dry before use.

    [PHOTO]

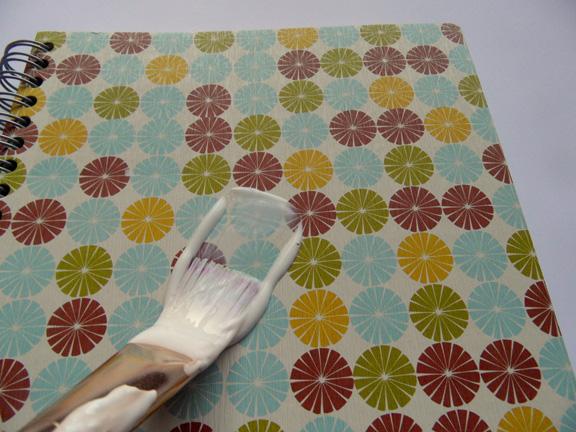
    2) Paint one layer of Mod Podge over the whole notebook, and carefully smooth the pictures over it. Go slowly and carefully to avoid wrinkles.

    [PHOTO]

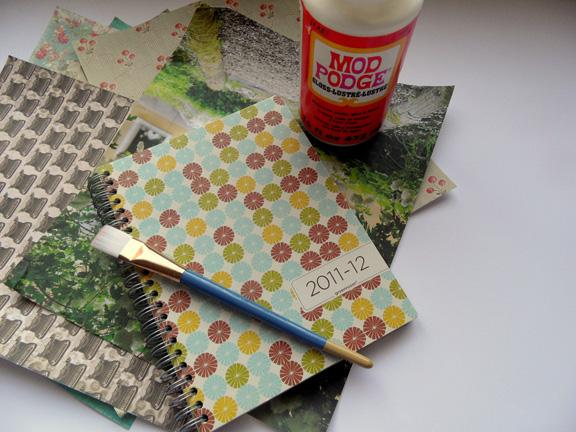
    1) Begin by picking out papers and arranging them on your notebook. I picked out an old, empty planner from 2011-2012 to decorate.

    [PHOTO]

    Typewriter

    [PHOTO]

    Load More Stories

    © 2021 • FLEX WordPress Theme by SNO • Log in