DIY Decor for Your Dwelling
Organize and accessorize, but keep it funky.
Using just scrapbook and a few simple steps, these DIY projects will make any room pop.
April 13, 2015
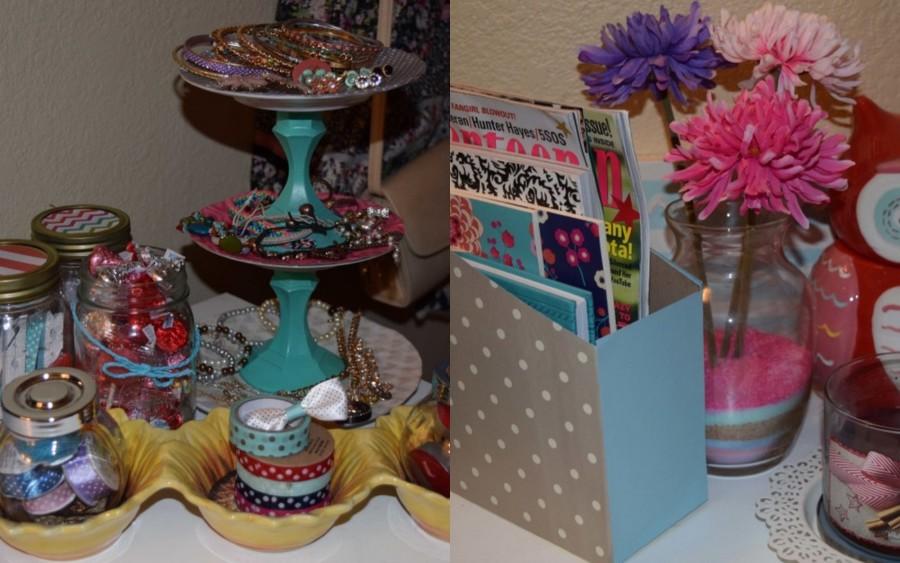
Having jewelry and magazines laying around your room isn’t an ideal setup, so here are two affordable and easy do-it-yourself projects that will help organize and bring some color into your living space.
Magazine Holder
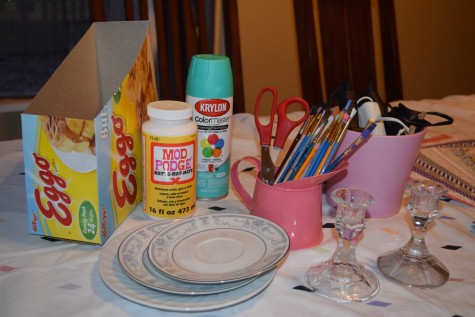
Materials
- Cereal box
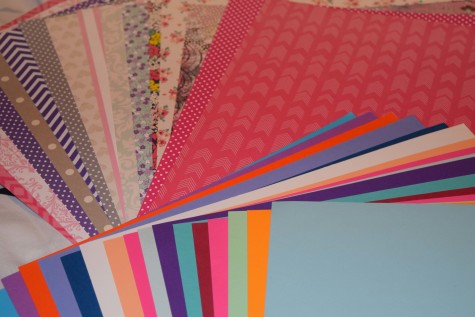
- Scrapbook paper
- Scissors
- Ruler
- Mod Podge
- Paint brush
- Pencil
This project only takes about five minutes, and in the end you have a great organizer.
First, make a slit in the top corner of your cereal box and use the scissors to cut from the top down diagonally (on both sides).
Next, place your box on top of the scrapbook paper and trace all four sides.
Then, cut out the tracings of the paper, and glue each piece onto the box using a paint brush and Mod Podge.
Apply a thin coat on top of each side and lay the paper gently on top, then press down on it ensuring it’ll stay.
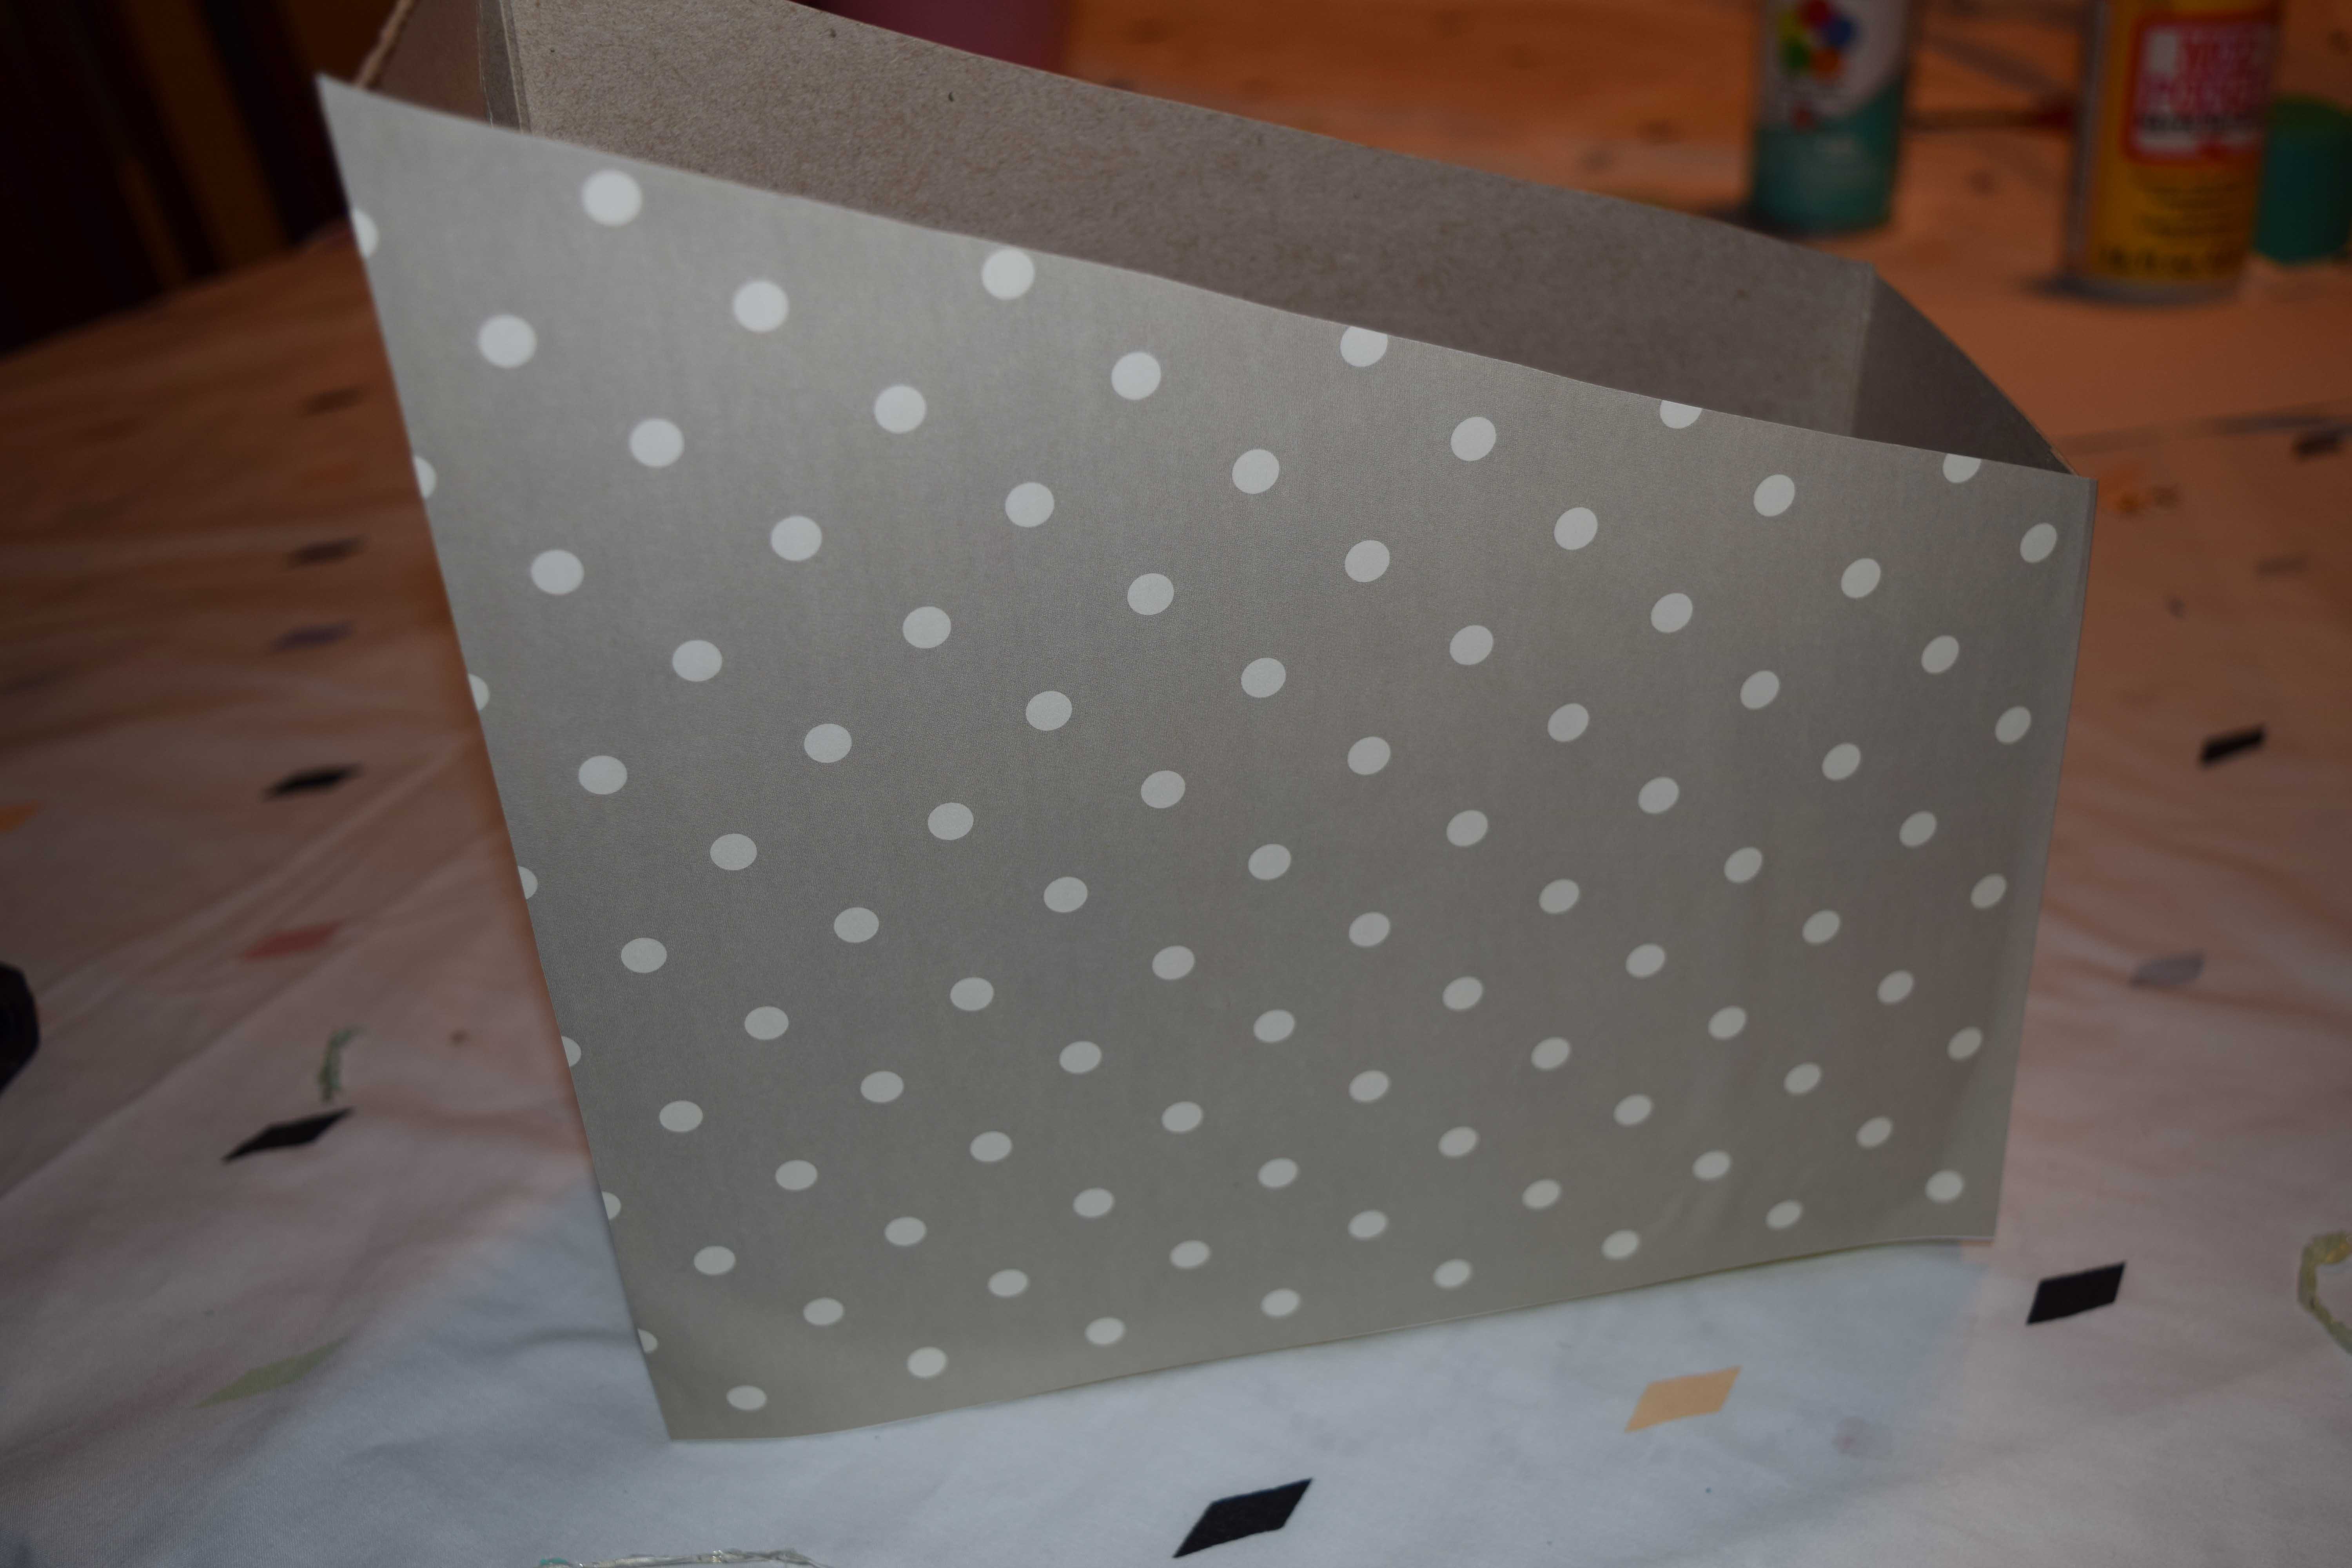
Lastly, fill your finished do-it-yourself up with your favorite magazines, journals, or notebooks and there you go!

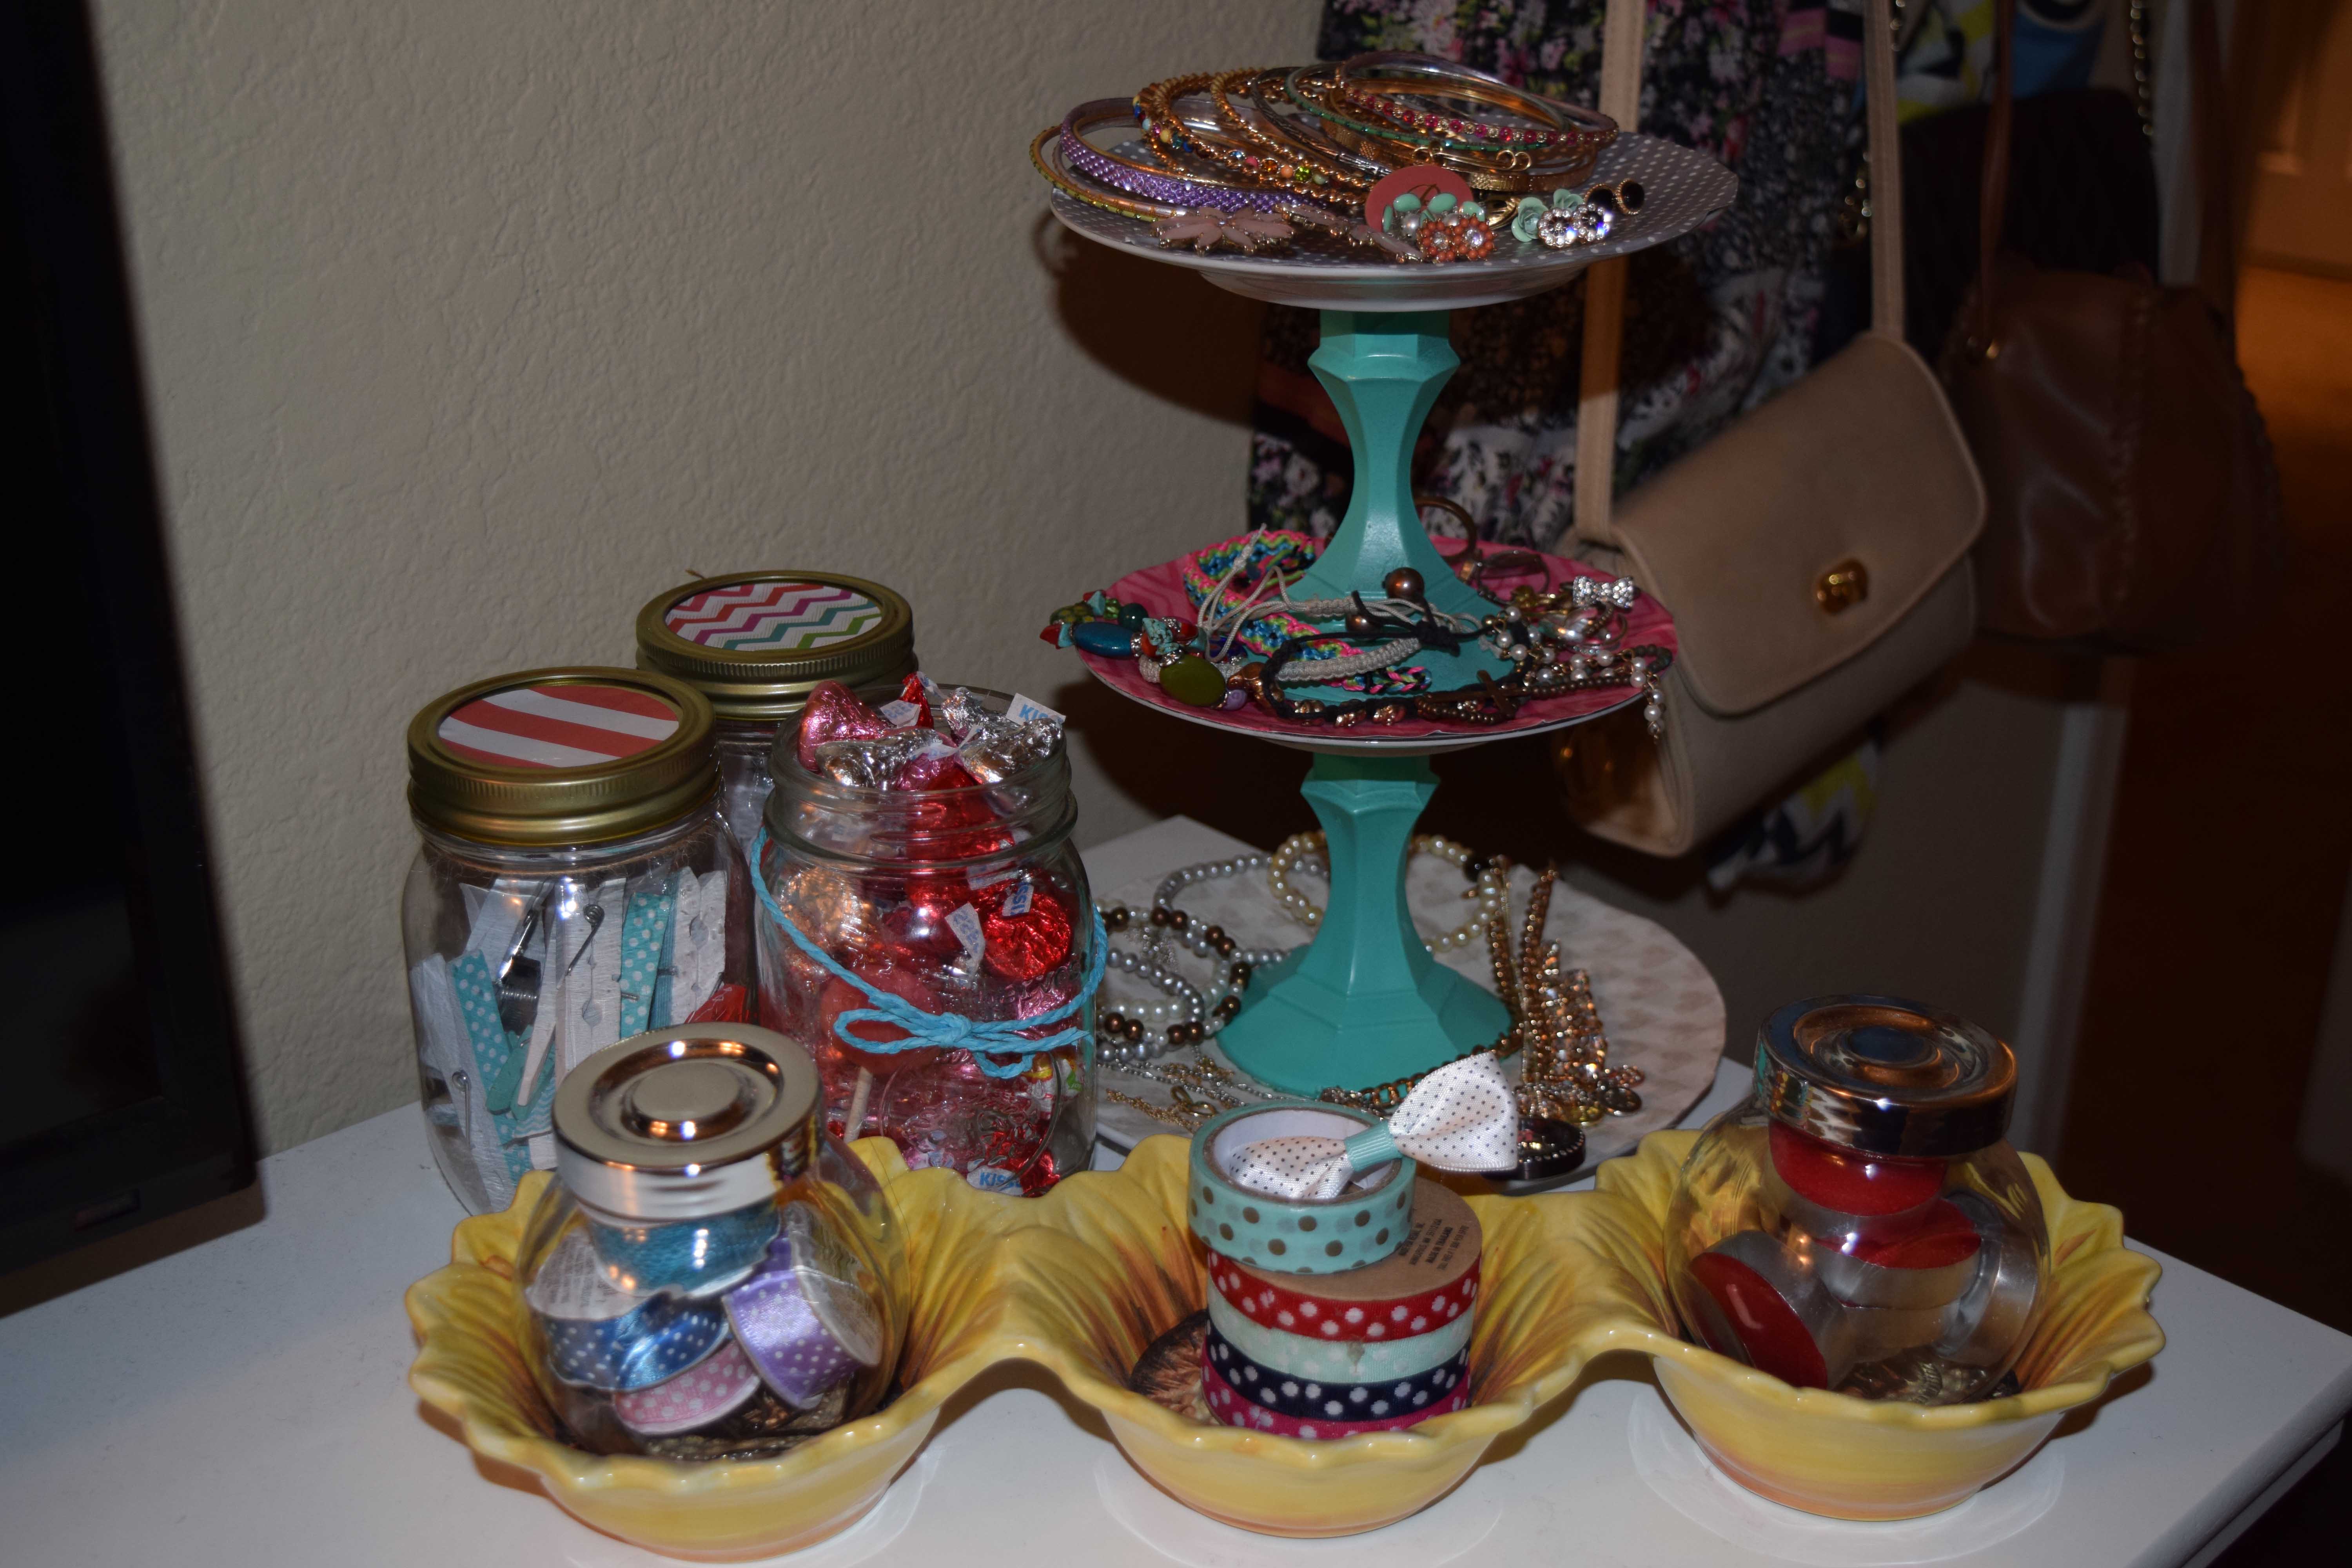
Jewelry Stand
Materials
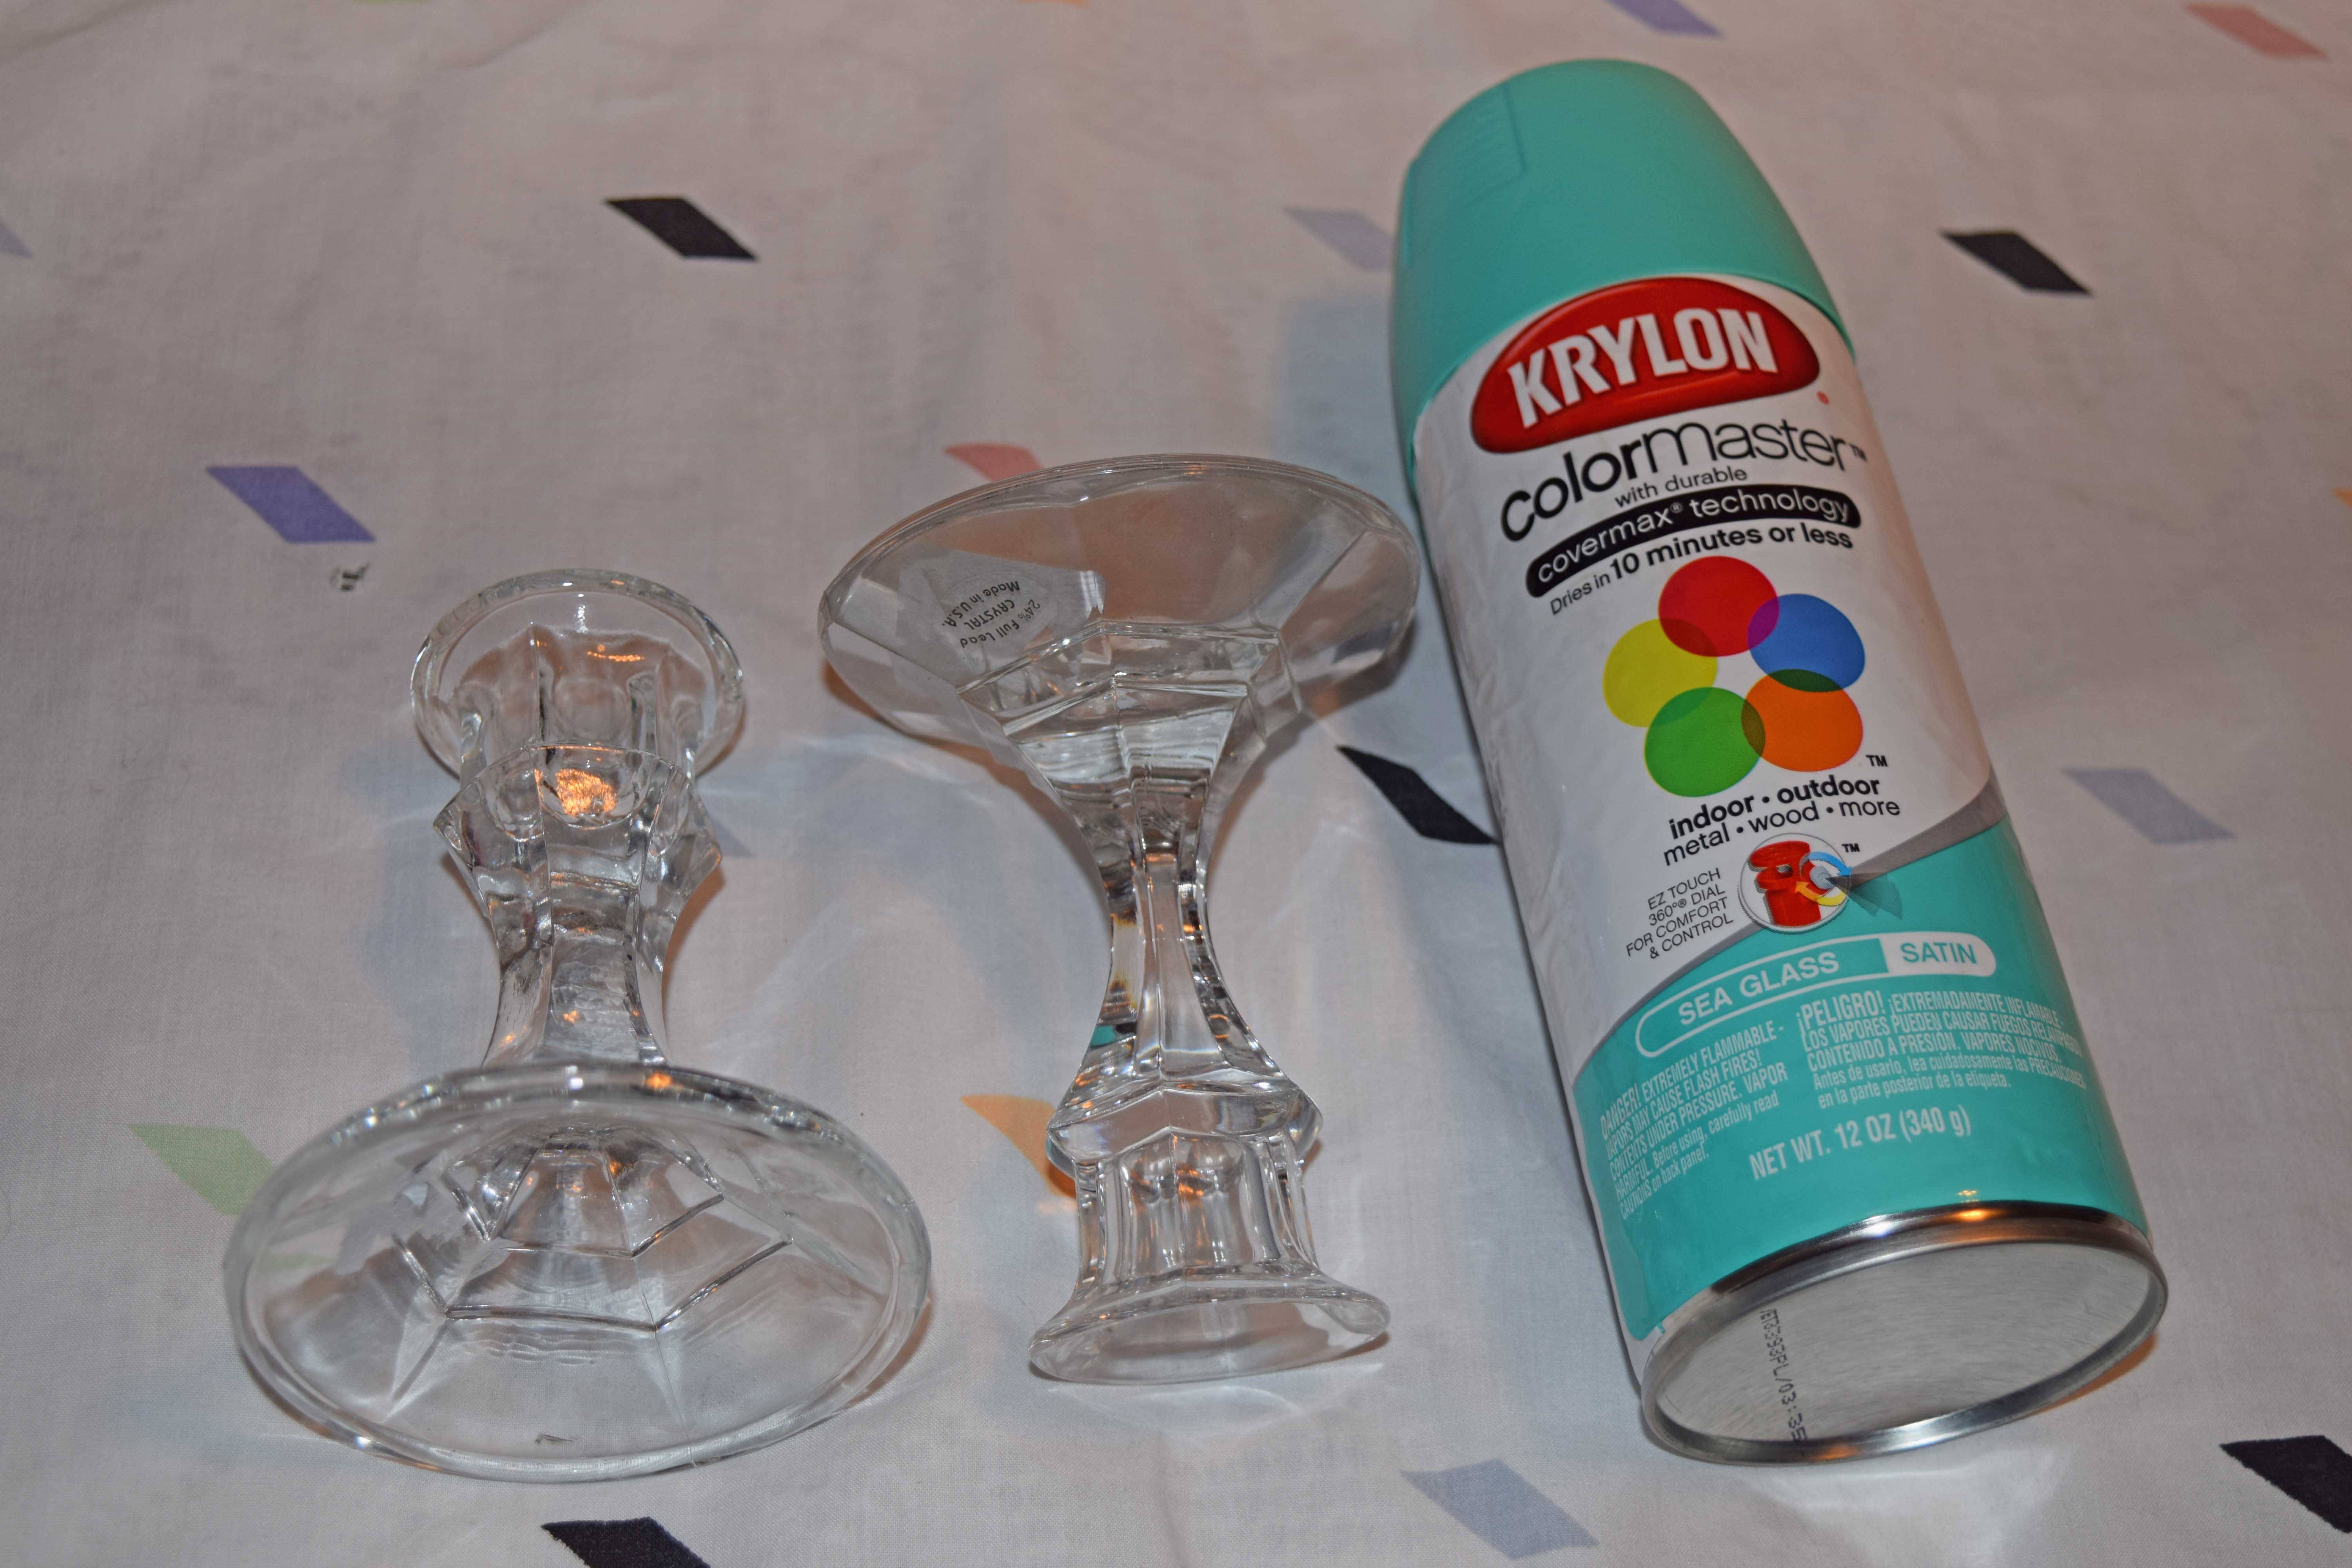
- Plates (choose different sizes)
- Candle holders
- Spray paint
- Scrapbook paper
- Hot glue gun
- Mod Podge
- Paint brush
- Pencil
To get these supplies, go to your local thrift store and purchase how many plates and candle holders you want to use. I chose to do three tiers and obtained all three plates and two candle holders at an inexpensive price.
Don’t worry about the plate’s design, because you’re going to cover it up with the scrapbook paper anyways. First, you’re going to want to lay all your materials out so it’s easy to grab everything.
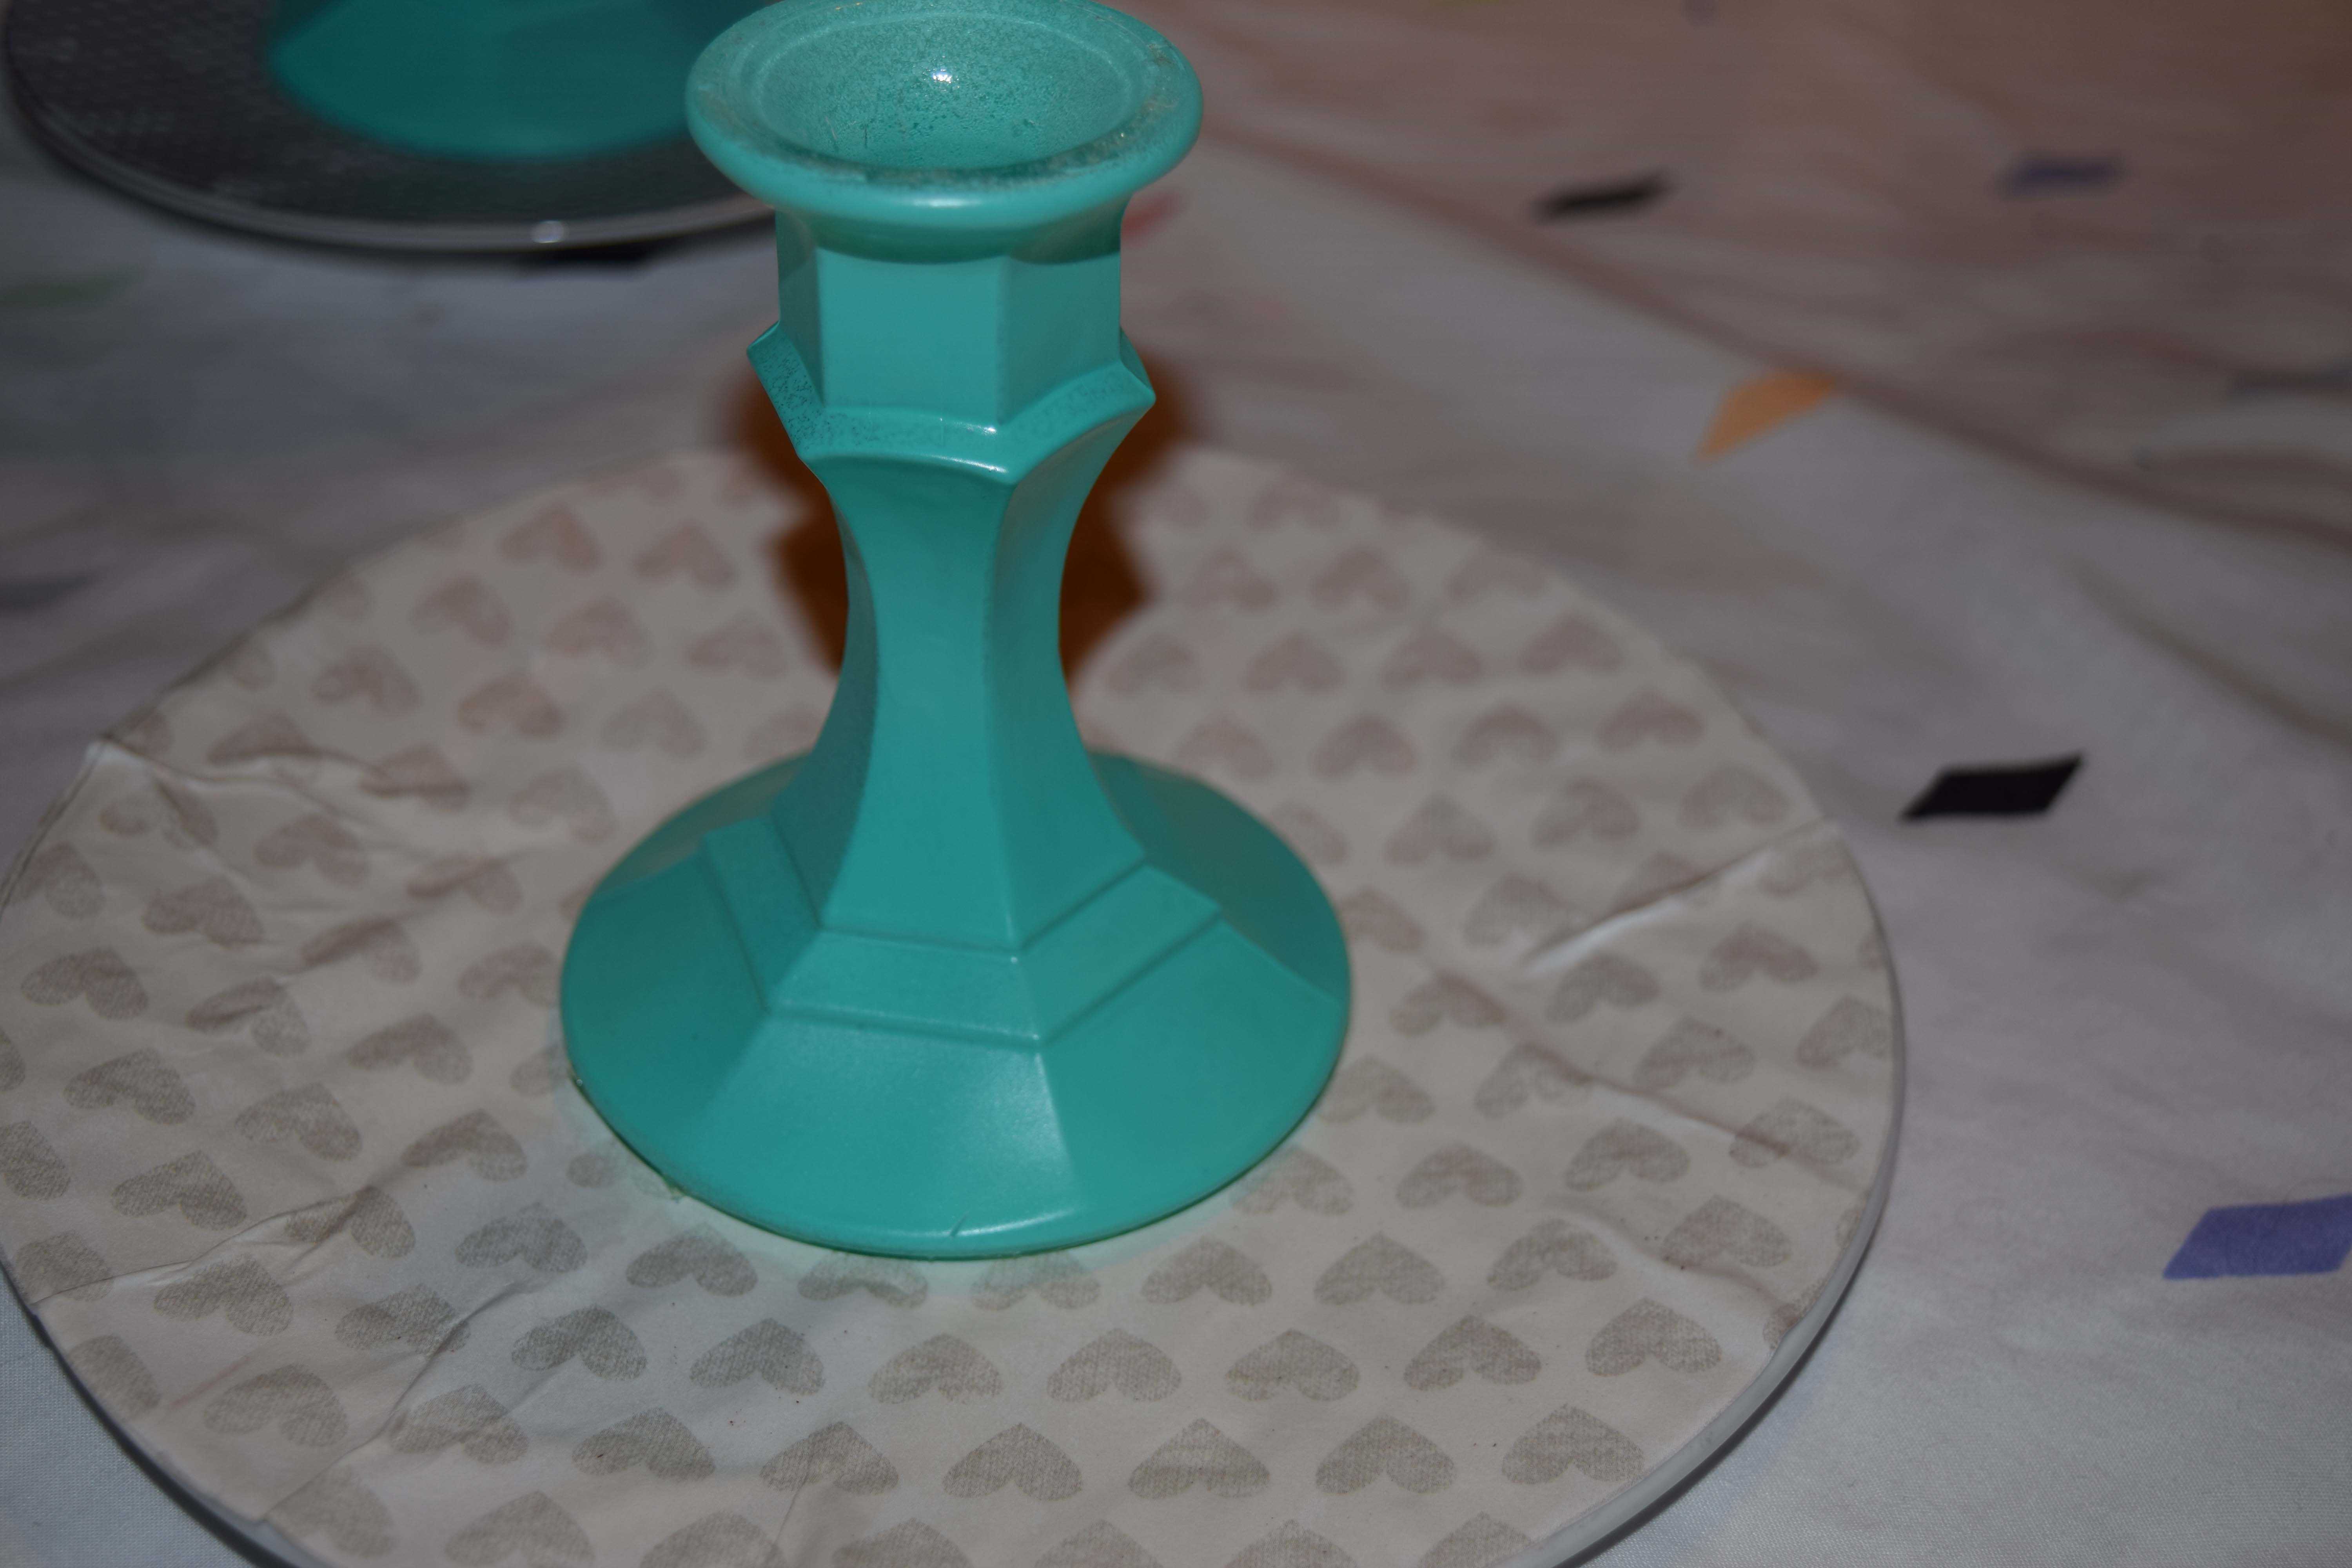
Spray paint your candle holders first, so they can dry while you decorate the plates (I recommend doing this outside ontop of an old sheet). Spray your first coat and wait about fifteen minutes to do the second one. Then, you can let them sit out to dry until they’re ready to be assembled.
Set all your plates on top of your paper and trace its shape. Afterwards, cut out the outline.

Once you’ve done this, spread a thin coat of Mod Podge using your brush on the plate and quickly place the circle cutout on top. Press down in the center and smoothly rub the rest of the paper down (don’t fret about any creases forming because the jewelry will cover them up).

Next, when you’ve decorated all your items, hot glue the bottom of the candle holder onto the center of the largest plate. Make sure to press down for about a minute until it’s completely secure.
Continue this step going from largest to smallest. After each tier is finished, place your jewelry on each plate and enjoy!