DIY Ornaments
December 18, 2013
The centerpiece of all Christmas decorations is the Christmas tree. However, this beautiful symbol of the holiday would not be complete without lovely personal ornaments. Ornaments on the tree are like a scrapbook of Christmases throughout the years. Create some memories by making adorable ornaments for the holidays.
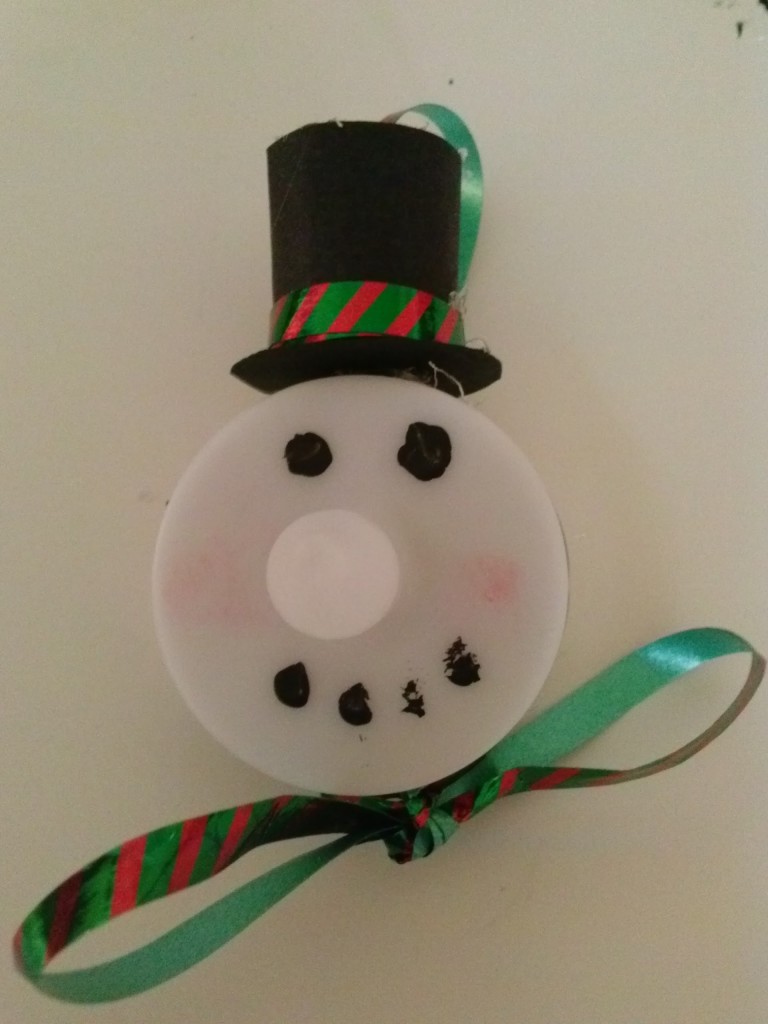
Frost-tea the Tea Light Snowman:

Using black paint, ribbon, black paper, and an automatic tealight, you can create an adorable snowman with a nose that glows.
Materials:
Automatic tea light
Black paint
Black paper
Hot glue
Ribbon
Paintbrush
Stencil
Scissors
Pencil

Paint the eyes and mouth using black paint and paintbrush.

Tie the ribbon around the tealight. On the bottom, tie the ribbon into a bow. Tie the ribbon into a loop. Secure both ends with a dot of glue.


Make a hat out of paper. Using the stencil, draw two different sized circles. Make a cylinder out of rectangle by hot gluing the ends. The circumference of the cylinder should be the same as the circumference of the circle. Hot glue the cylinder to the circles at both ends. Hot glue the ribbon to the cylinder end with the large circle.

Hot glue the hat to the top of the snowman.
A Charlie Brown Christmas Tree:

Perhaps it’s odd to have an ornament of a tree on your tree. However, create a replica from A Charlie Brown Christmas that will bring laughs every time you see it.
Materials:
Cross stitch fabric
Green thread
Brown thread
Gold thread
Fabric


Follow this pattern to create the Christmas tree.

Then, sew the cross stitch and fabric together. Before sewing, to get a clean line, pin the fabric onto itself. While sewing, sew a loop made of ribbon into the seam.
Snowman Soup:

Show what’s going to happen after Christmas in a clear ornament. Using sugar, fabric, paper, and some clay, create a melted snowman.
Materials:
Sugar
Clear plastic ornament
Orange clay
Brown clay
Black clay
Black paper
Fabric
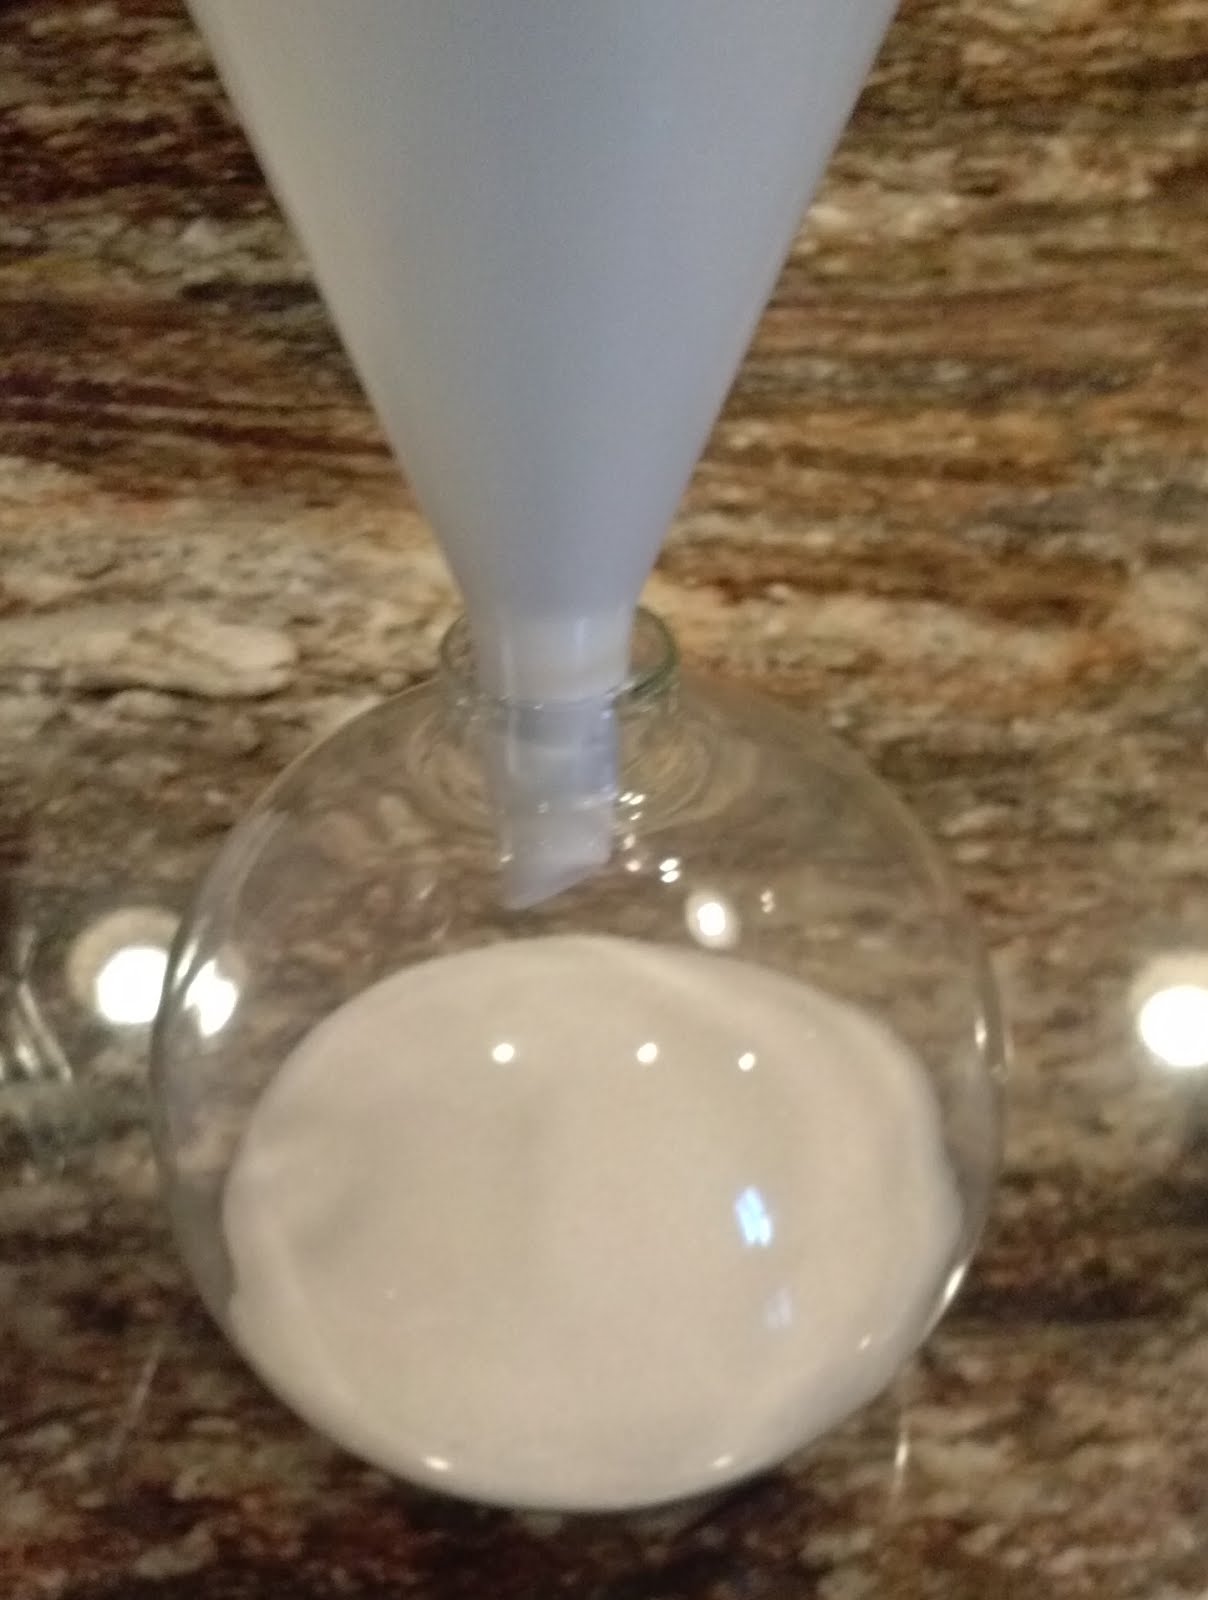
First fill the ornament almost halfway with sugar.

Now make the eyes, carrot, coals for the mouth, hat, branches, and scarf. Cut out a small rectangle out of the fabric to make a scarf. Sculpt a carrot out of the orange clay and the branches out of the brown clay. Make some coals for the eyes and mouth. Finally cut a hat out of black paper.

Place everything you made carefully into the clear ornament.
Crossing Over Christmas:
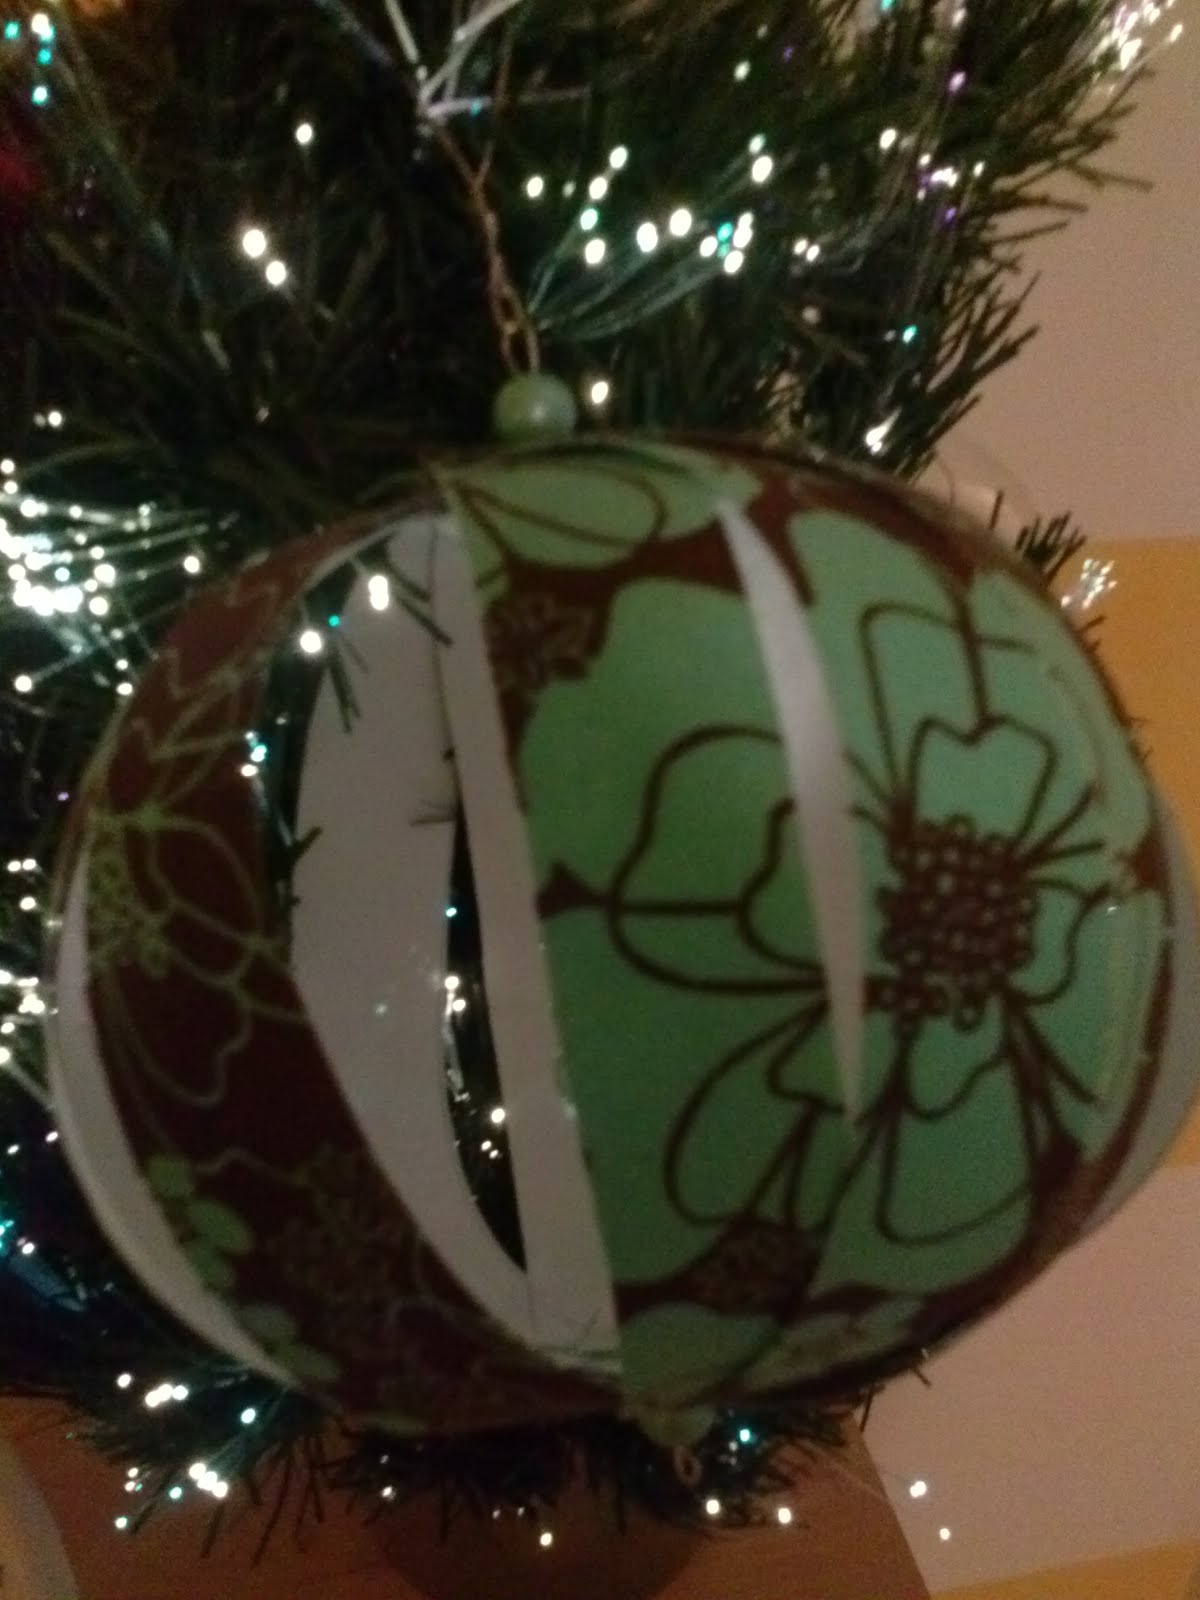
Create a beautiful ornament out a little paper, fabric, and beads in less than twenty minutes.
Materials:
Fabric
Cardstock paper
Ruler
Scissors
Spray Adhesive
Holepuncher, or nails and hammer
Wire
Beads
Wire cutter
Pliers
Attach the fabric to the cardstock paper using spray adhesive. For best results, iron the fabric before.

Cut strips of paper about one inch wide and eight and half inches long.

Hole punch or hammer a hole into both ends of the fabric and paper.

Stick a wire through one the holes. Place a bead on the fabric side and make a loop to keep the bead from moving around. String beads on the wire on the paper side. To get the circular shape, don’t put too many beads. Put the wire through the other hole with the paper end on the beads. String a bead on the fabric side and make a loop.