

Joe’s Photography Tip of the Week #2: Star Trails
Star trails create stunning, beautiful images that remind us we are constantly moving through space.
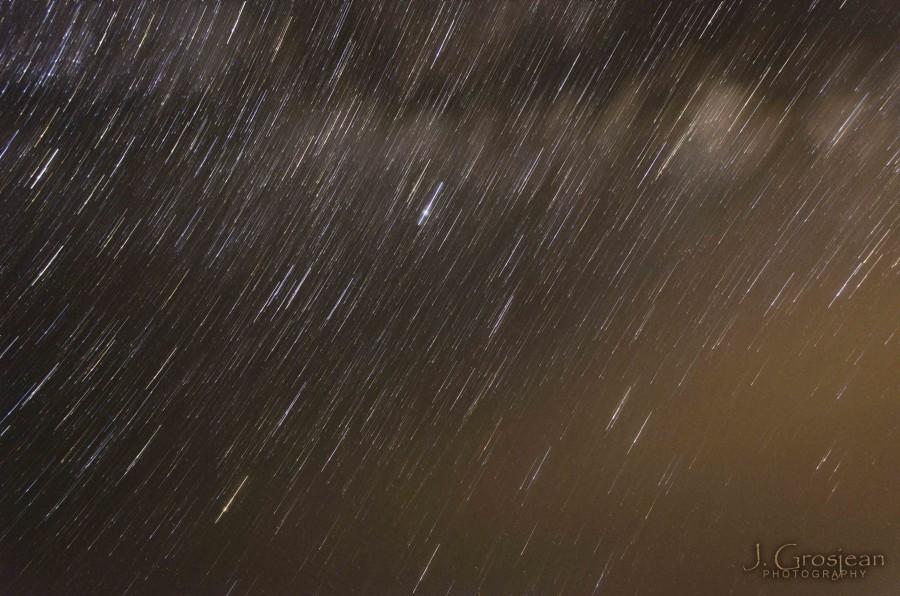
Photo Courtesy of Joseph Grosjean
Example of an image created using star trail techniques.
August 22, 2015
Star trails, even though they look complex, are actually quite easy to create. Let’s first go over the basic principles behind this technique.
As you probably know, Earth is constantly rotating and thus it appears as if the stars are moving across the sky. Our goal is to capture this slow movement through one of two methods: single exposure and composite exposure.
No matter which of the two methods you chose, you will be doing some sort of long exposure. A long exposure is when you leave the shutter of the camera open for an extended time letting in more light, as well as tracking the motion of the subject.
The difference between the two methods is the length of time. The single exposure methods’ exposure time is going to be somewhere in the range of multiple hours, and you have a higher chance of a poor image as it is difficult to get the right exposure (balance of light and shadow). Also, as you will have hours of light being captured you will probably need something called an Neutral Density (N.D.) filter which darkens the image, like sunglasses for your camera.
Regardless of these technical challenges this is the preferred method of some because it is the purest form of this art and doesn’t require the sometimes extensive photo manipulation of a composite image. For the purpose of this tutorial though, I will focus on composite images.
A composite is defined in photography as a stacked or layered image consisting of multiple photographs. Think of the final image like plywood with the individual layers being the individual photographs which will be blended together to create a stunning image.
The first step is location, location, location.
Find a place that is away from the city and its light pollution (yes, it does affect the image). I have had the most success in the mountains of Payson, AZ on clear, crisp nights with not a cloud in sight.
Next, you are going to set up your tripod. A tripod is absolutely crucial to this project as the images are taken over an extended period and they all have to line up. You will also need to set your lens to the smallest focal length possible so you can get a big aperture. Make sure to set your camera mode to manual and start with the rule of fourths.
“What is the rule of fourths” you’re probably asking yourself? The rule of fourths is that your exposure is 4 minutes, your aperture is f/4, and your ISO is 400. This will create an optimal starting point for exposing your images. Once you take some practice shots and refine your settings you are almost ready to get started.
We are now going to make some adjustments in the camera menu. As all cameras are different I am not going to go into detail on how to do this but you are going to want to turn off long exposure noise reduction (NR) and high ISO noise reduction (NR). The purpose of this is to cut down on exposure time. Though both of these are nice settings to have they will more than likely double your exposure time and there will be breaks in the streaks of the final image.
You will now have to adjust your focus. If your lens has an infinity focus mode then select it. If not you are going to have to do trial and error in manual focus mode until you have it locked in. You might want to use a high ISO and a shorter exposure time for this part.
Once you have your exposure and focus correct get settled in. Grab a chair, don’t forget a jacket and to keep all light sources off (that includes your phone). Just enjoy the surroundings.
Take 30-200 exposures depending desired trail length. This can be accomplished by simply pressing the shutter button, using some sort of remote, or some cameras have a setting that will automatically take a certain number of exposures. In any case have a timer going as you will have to shoot in “bulb” mode to have the shutter open for that long.
Once you get home and upload your images you can start up Photoshop. Go ahead and open all of the images and go to “File” → “Automate” → “Photomerge.” Select “Auto” and “Add Open Files.” Click “OK.” This will align all the layers so they blend together seamlessly. Next change the blending mode of each of the layers except for the bottom layer to “lighten” which will make the stars and nothing else show through. As far as making the trails you are done. All that is remaining is some color retouching and removing the random airplane lights or noise from the photograph. Good luck and have fun!


