DIY Sharpie Mugs
November 27, 2013
Custom or personalized mugs can be expensive. Using some permanent markers, you can create your own do-it-yourself mugs. This simple project is a great gift for friends or a personalized item for yourself.
MATERIALS
Ceramic mug
Rubbing alcohol
Sharpie markers
Stickers, optional
Stencil, optional

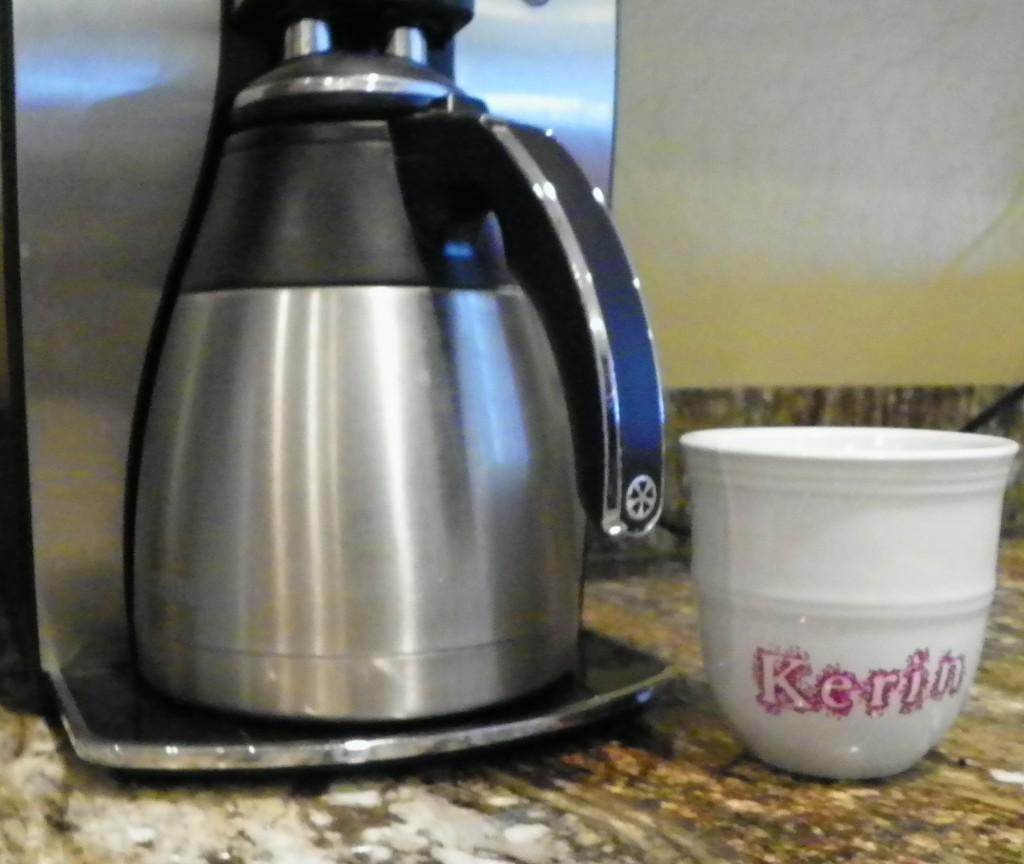
The type of mug can make a difference. Expensive mugs, surprisingly, aren’t the best for this project. Instead, use ceramic mugs from the dollar store or Mainstays ceramic mugs from Wal-Mart. For best results, the mugs should be cleaned with rubbing alcohol. This will remove all the oil and make ink become permanent.

Next, create your design using Sharpies. If you are writing letters, stickers or stencils are helpful. However, do not use painters tape. From personal experience, the Sharpie bleeds through the tape. Put your initials, home state, or a bunch of coffee terms on your mug. This particular design was achieved by put a letter sticker onto the mug and dotting around the sticker with a Sharpie. Allowing the Sharpie to dry overnight will produce better results. To prevent the design from being ruined in the oven, give it at least eight hours to dry.
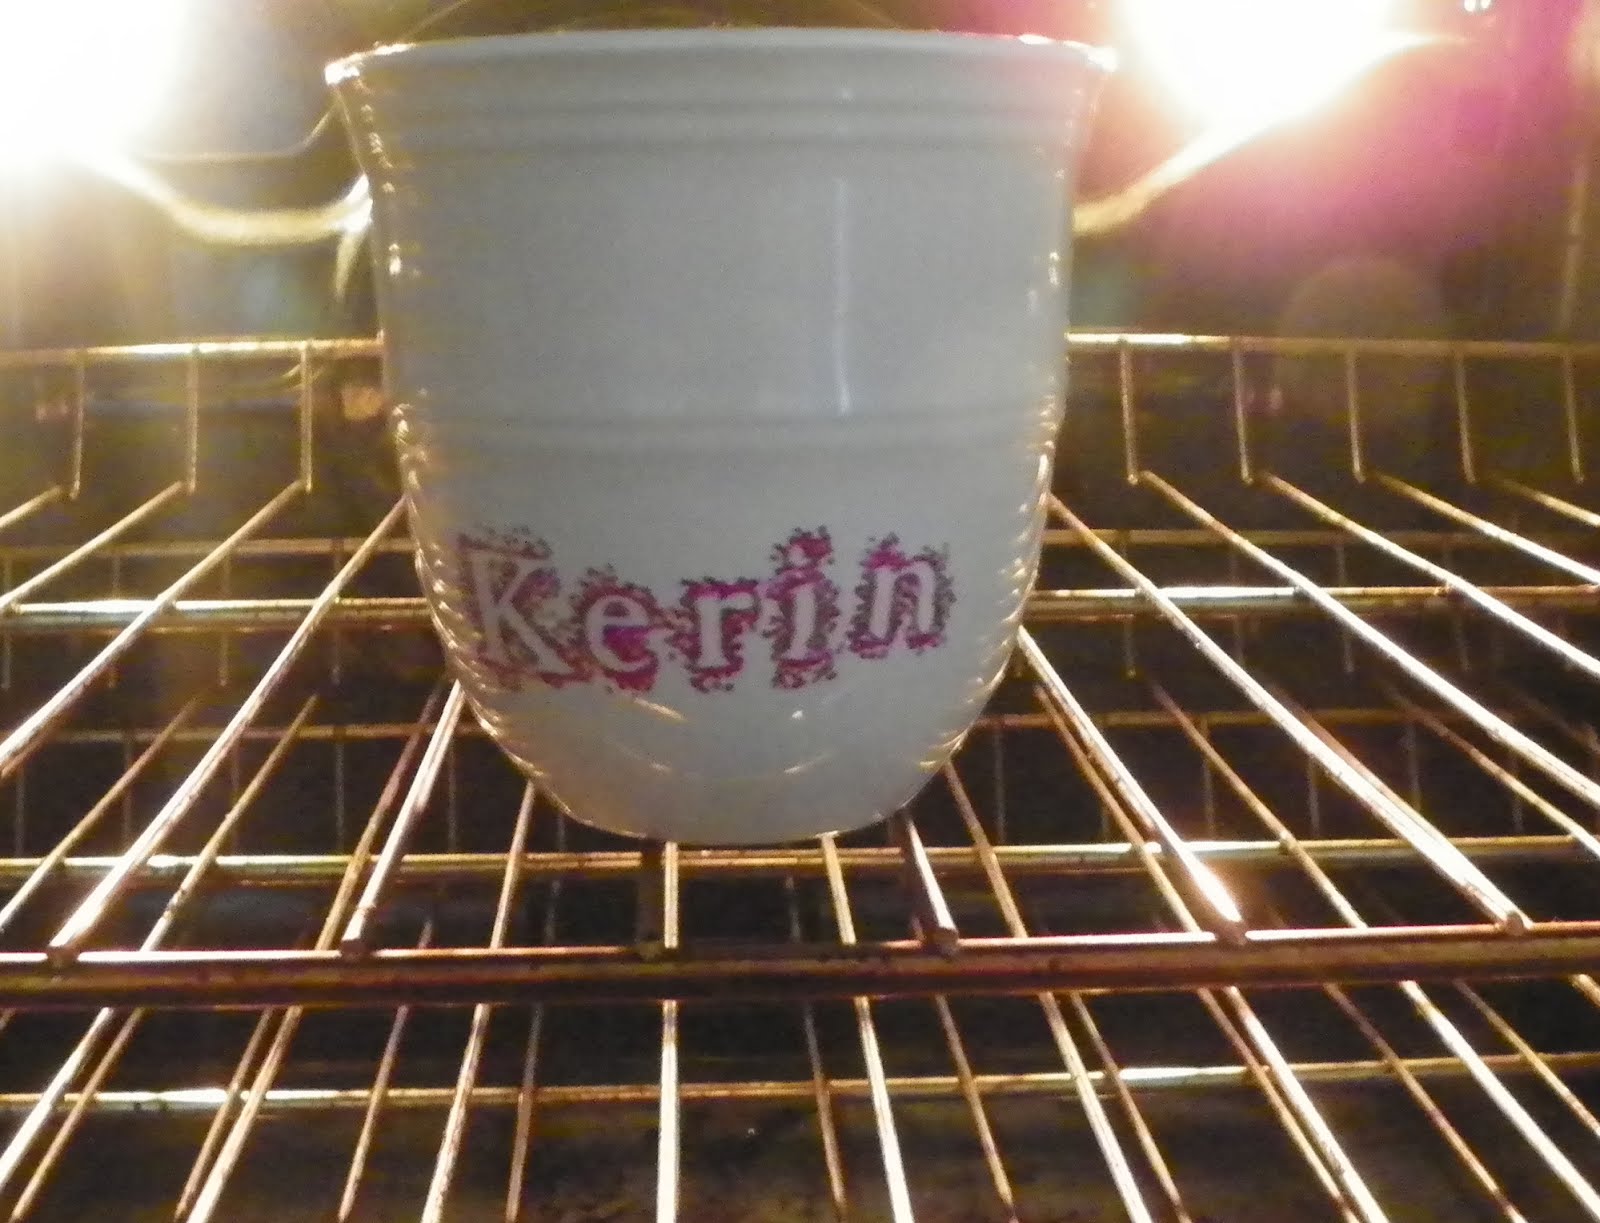
Bake for 30 minutes at 425 degrees Fahrenheit. After the baking is completed, leave the mug in the oven until it cools to stop it from cracking or breaking. While it bakes, check the mug every so often to prevent it from browning.
Although this project can be incredibly simple, these tips can help make your project successful:
The colors of the Sharpies can change in the oven, for example, red Sharpies are said to change to a pale yellow.
Although these mugs are dishwasher safe, washing mugs by hand will increase the lifespan of the mug.
You can make Sharpie art on mugs, plates, bowls, and other dishware. Sharpie mugs are a creative project with all sorts of designs and styles.