Show How Much You Care With Handmade Cards
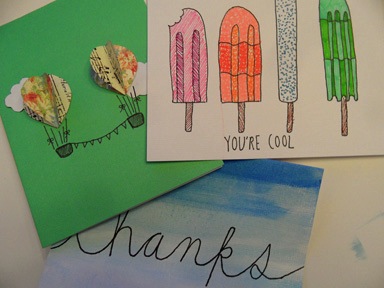
These adorable handmade cards will warm a friend’s heart. They are easy to make, and you will probably recognize or own the supplies that are used.
Ombré Thank You Card-
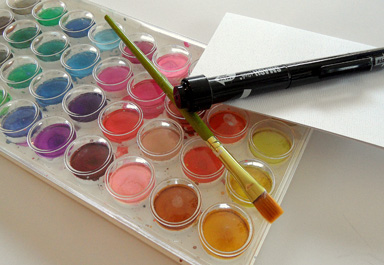
Materials:
– Watercolor paint
– Paintbrush
– A blank piece of paper folded in half to serve as the card or preferably a folded piece of watercolor paper.
– A black ink pen
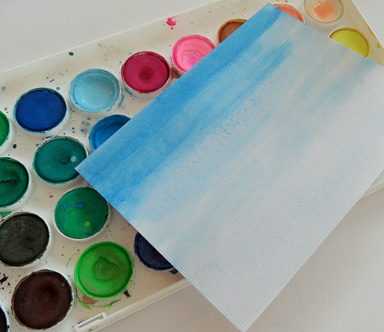
Step 1. Using one color, paint horizontal lines across the card, darkest at the top, and slowly fading lighter. The bottom of the card should be nearly colorless. In addition, you could try transitioning from one color to another, so that they fade together.
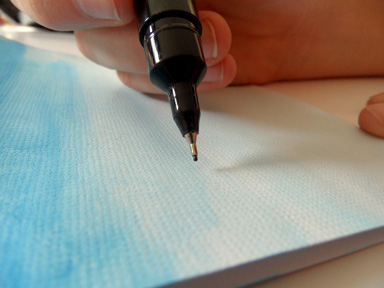
Step 3. Allow the card to dry for at least an hour before continuing. You might want to place the card under a heavy book for a while so that it will flatten out. Carefully write the word thank you using a black ink pen.
Step 4. Create the card in a variety of colors, or using different lettering or expressions on the front. Write a sweet note in the card, and give it to anyone you would like to thank.

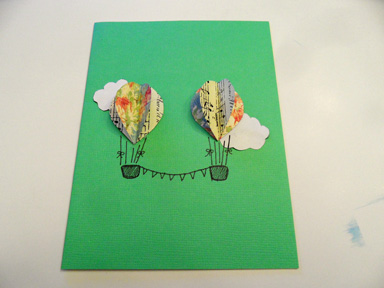
Hot Air Balloon Friendship Card-
Materials:
– Two types of patterned scrapbook paper
– A piece of white copy paper
– A black ink pen
– A blank card
– Glue stick

Step 1. Cut two clouds out of white copy paper, and glue them down. Here’s a template to help with the shape.


Step 2. Cut four hot air balloon shapes out of scrapbook paper, two of each. Below is a template you can use to trace. Leave one of each hot air balloon flat, but fold the other in half down the center. Glue the flat shape down first, and then the folded shape on top of it. Do the same with the other hot air balloon next to it.
Step 3. Draw the two baskets and a banner flying between them. Draw first in pencil, then trace over it with the black ink pen.

1) Draw two squares with rounded corners, one below each balloon. The top of the squares should be wider than the bottom.

2) Fill the squares with hatching, small lines that imitate shading.

3) Give each of the baskets five lines connecting them to the balloons.

4) Draw a line connecting the two baskets, and draw tiny pennants hanging from it. Draw four tiny bows on the outermost strings that connect the balloons to the baskets.

Step 4. Ta-da, you’re finished. Give the card as a token of friendship or as a simple way to brighten someone’s day.
You’re Cool Popsicle Card-
Materials:
– A blank white card
– A black ink pen
– Multicolored colored fine tip sharpies or gel pens
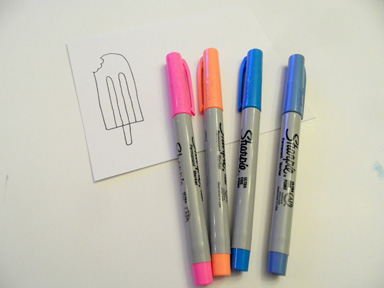
Step 1. Draw five popsicles in pencil, and then trace in black ink pen.
1) Draw the outlines of the shapes.
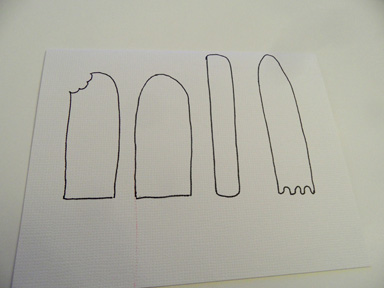
2) Add popsicles sticks to the bottom of the shapes.
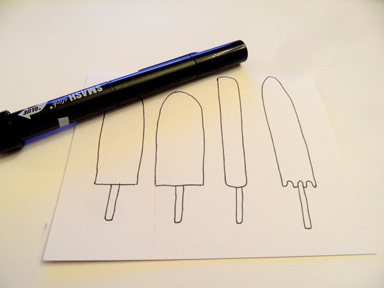
3) Now add the details. Write the words “You’re Cool” at the bottom of the page.

4) Use sharpies or gel pens to add accents of color to your drawing, or color it in completely.
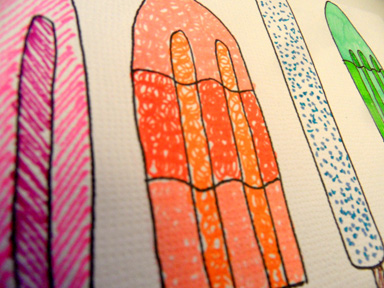
Step 2. The card is finished. Tell someone how cool they are with this summer themed card.

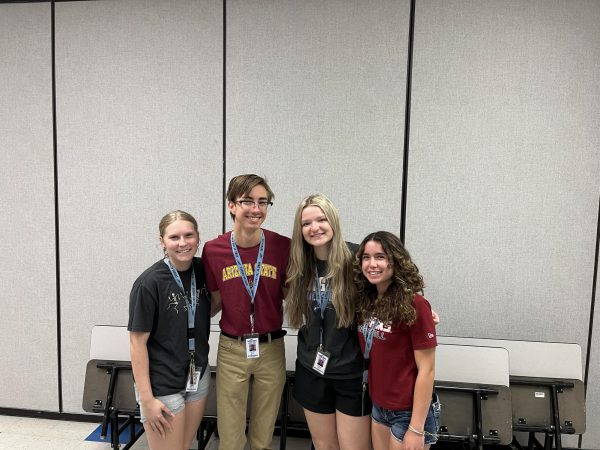
Opening her own bakery is Emily's dream. She often bakes to grow her skills, and because she loves the taste of warm, flaky pastries and desserts. Her favorite baked dessert is old fashioned peach muffins. Her hobbies are writing short stories, reading fantasy novels, and sketching. Also, she swims on the Chandler Arizona Desert Dolphin synchronized swim team. She has one gold medal from a city figure meet. Emily hopes journalism will open new doors for her future aspirations.