

DIY Mushroom Hat
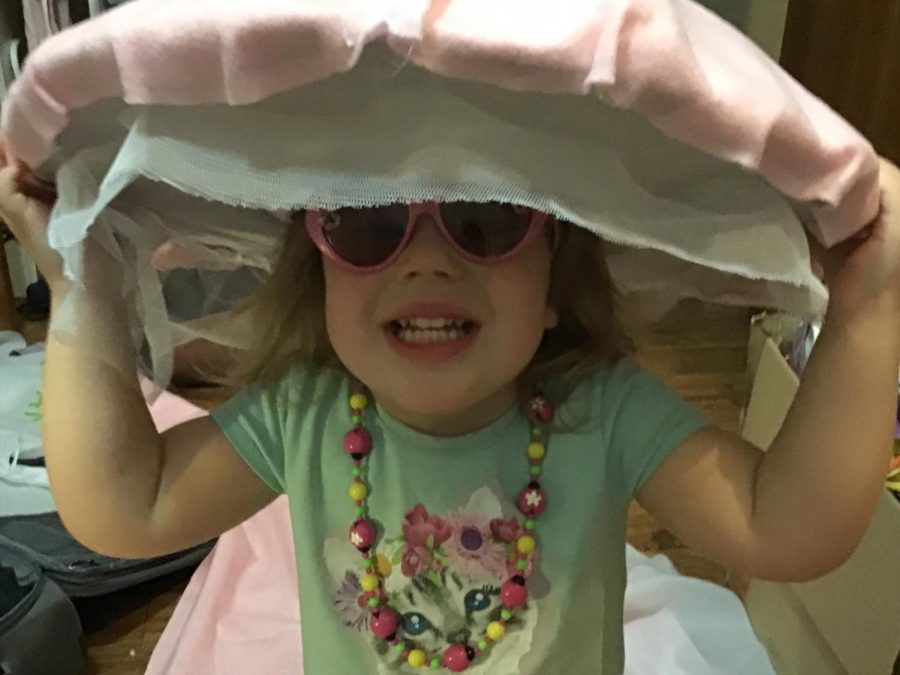
The finished product
March 22, 2021
This mushroom hat is very cute and is a fun project! It is especially useful because Arizona is very sunny and the mushroom hat has a wide brim. You can stay protected from the sun and look cute while doing it.
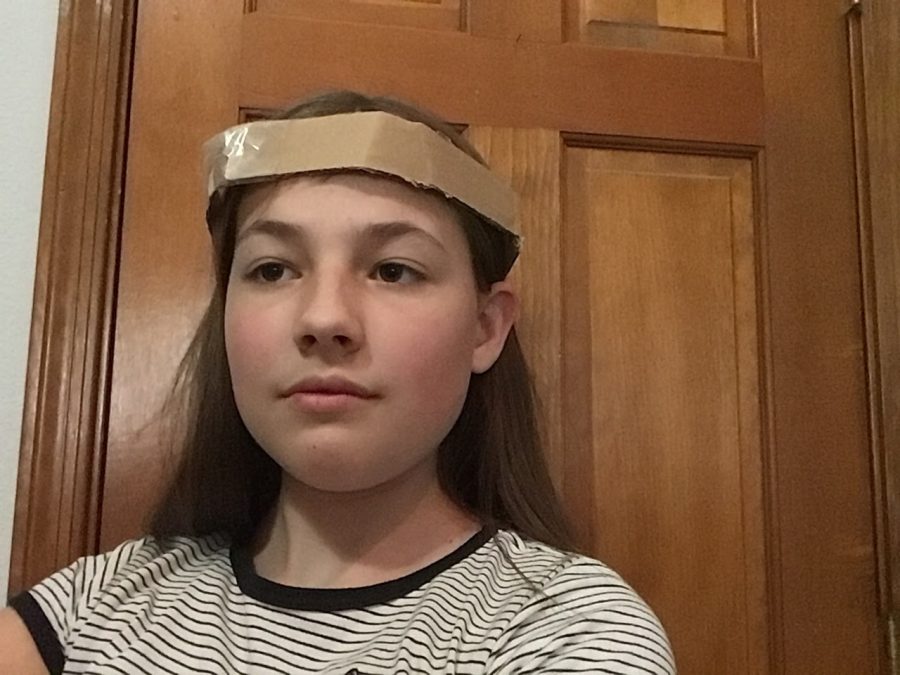
- Cut out a long, 1-inch-wide piece of cardboard, and measure it by circling all the way around your head. Make sure both ends attach, but don’t make it too tight. Hot glue or use the packing tape to attach the sides.Step 1
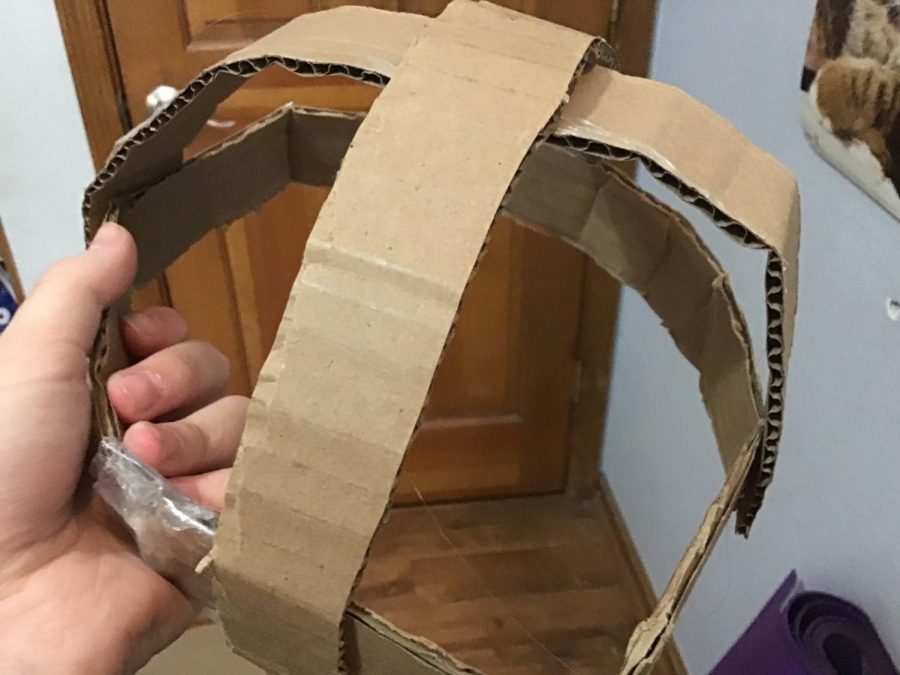
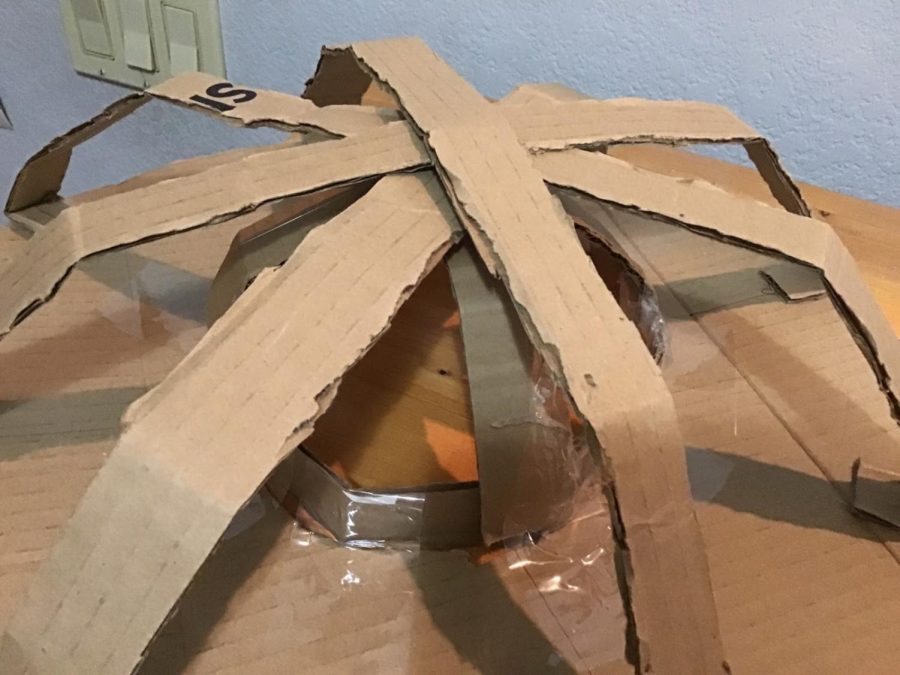
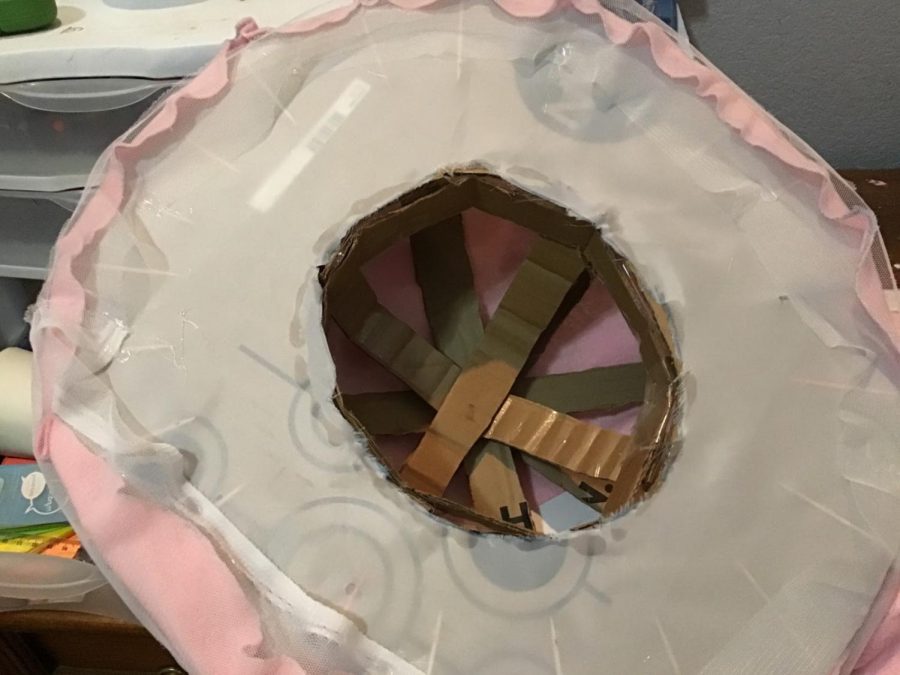
- Cut out two 1-inch-wide pieces of cardboard. Measure those around the top of your head and hot glue them on in an X shape, gluing the ends to parts of the cardboard that you circled around your head. This is the crown.Step 2
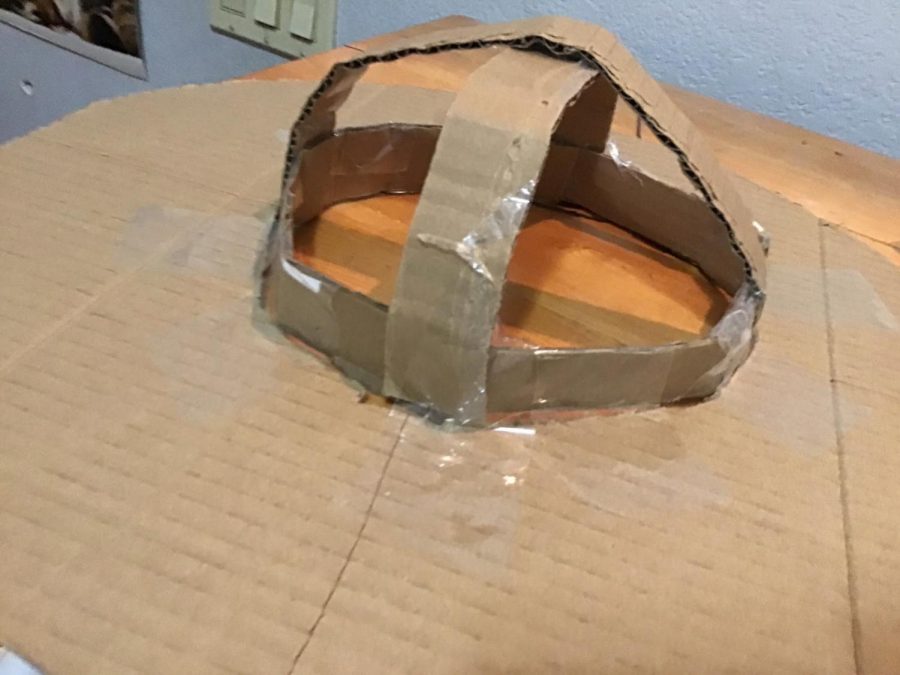
- Trace your crown on a huge piece of cardboard and make a wide circle around the outside. Cut the bigger circle out of the large piece of cardboard. Then, trace around the crown, and use your exacto knife to cut out the crown tracing. Hot glue the bottom of the crown to the larger circle, which will be the brim.Step 3
- Cut out four long, 1-inch pieces of cardboard. Fold the ends and hot glue them down in a circle. They should be stacked on top of each other, and in the middle they should all be touching the middle. You might need to cut a little off before you hot glue it.Step 4
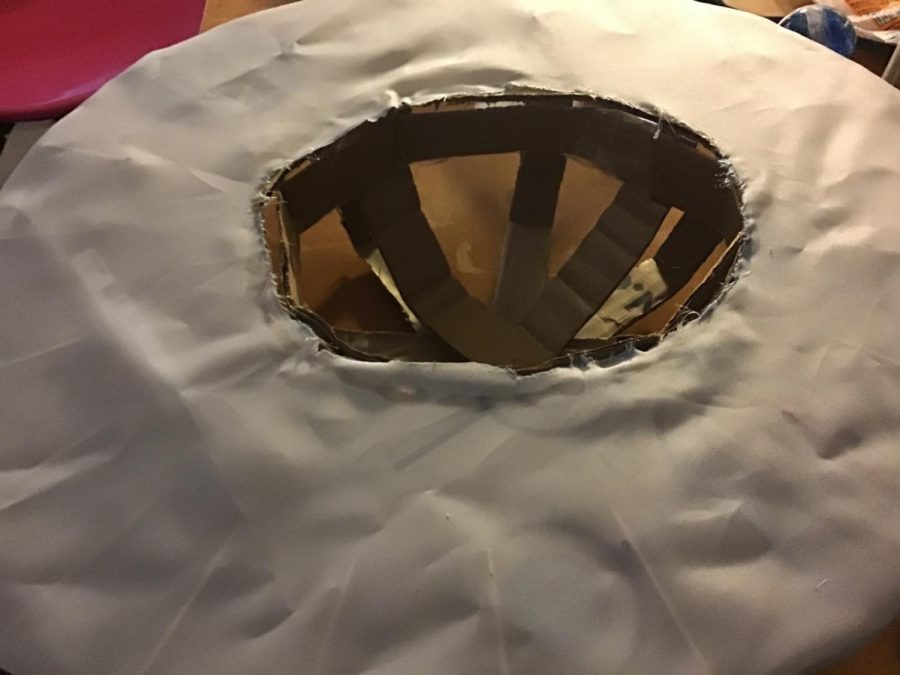
- Trace your brim on the textured fabric, making the circle a little bit bigger so that you have room to make the creases. Cut the fabric out, making sure to include the hole for your head. Hot glue the fabric to the bottom of the brim. Remember to make creases so it looks like the underside of a mushroom.Step 5
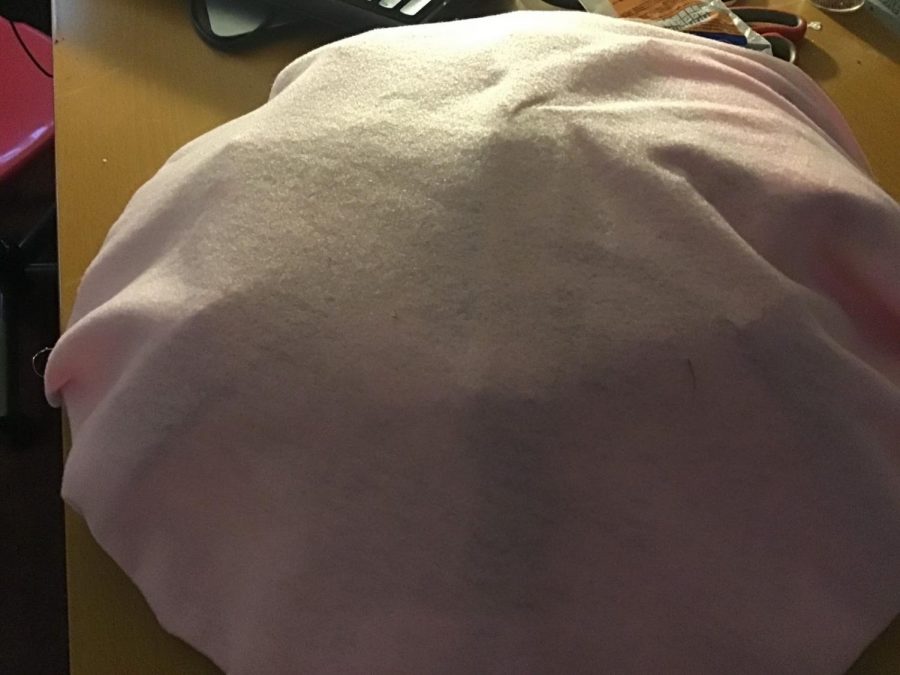
- Trace the larger circle on your colored fabric and make your circle a little bit bigger before you cut it out. Lay it out on top and hot glue the edges to the underside of the hat, trying to leave room for some little creases as well.Step 6
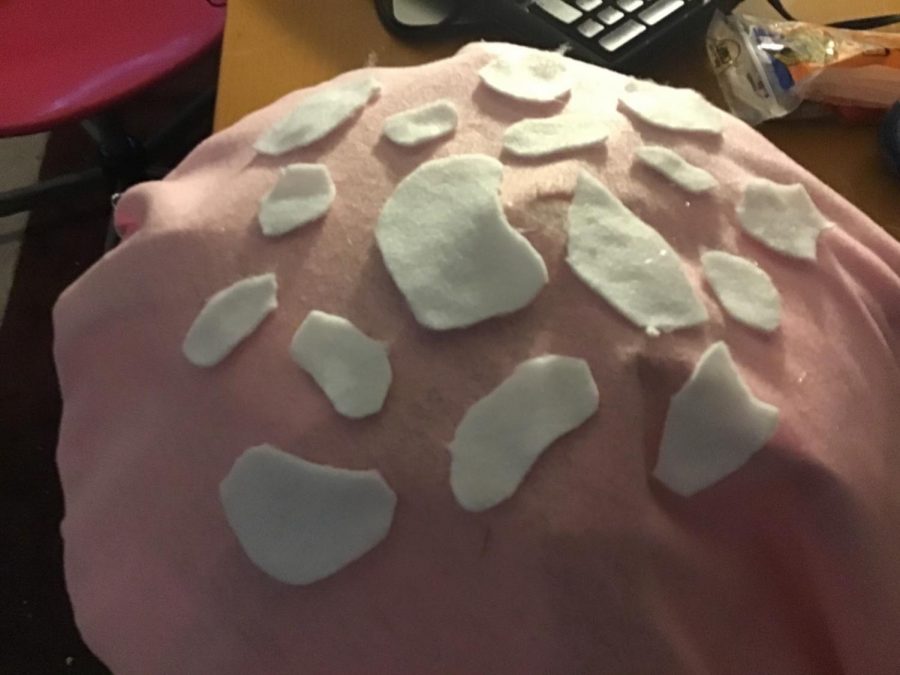
- Use the white fabric and cut out some abstract shapes. Glue them to the top of the hat, so it looks like the white spots of a mushroom.Step 7
- Cut out a long, 1-inch strip of your lace fabric. Glue that on the underside of the hat. To finish, make sure everything is in place and won’t fall apart. Clean up any excess glue strings.Step 8
Your hat is done! Feel free to put some fabric around where your head goes for comfort if you’d like. This hat is very cute and can help protect you from harmful UV rays by blocking the sun. It is also a great project for any age and makes a great present for a kid!


