Polygel Nails

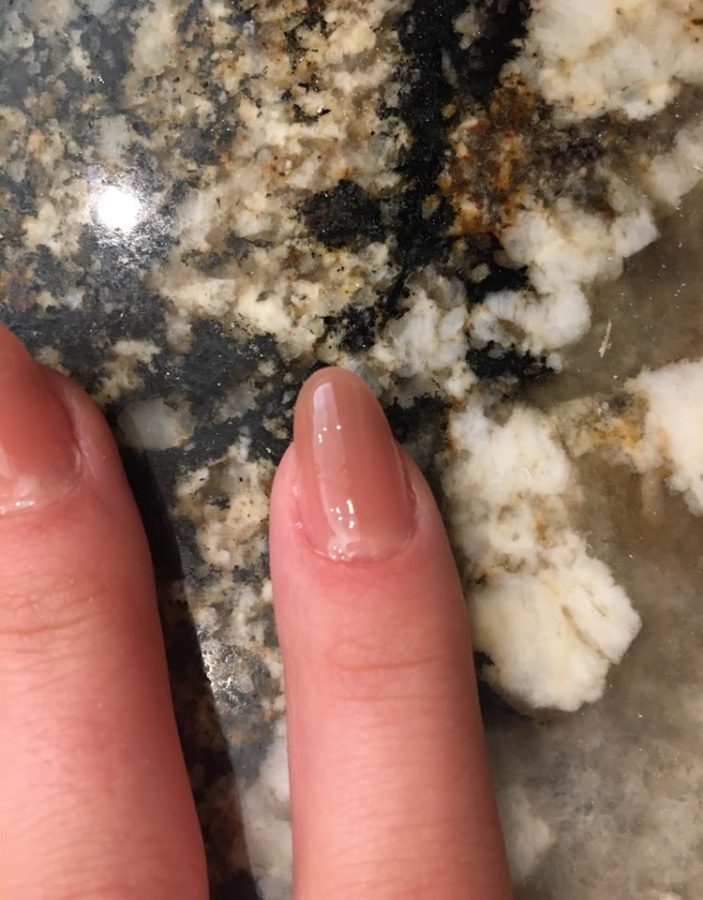
The finished nails
May 14, 2021
Materials:
- Basic nail preparation supplies (nail file, cuticle clippers, cuticle oil, etc.)
- UV LED lamp
- Polygel
- Slip solution
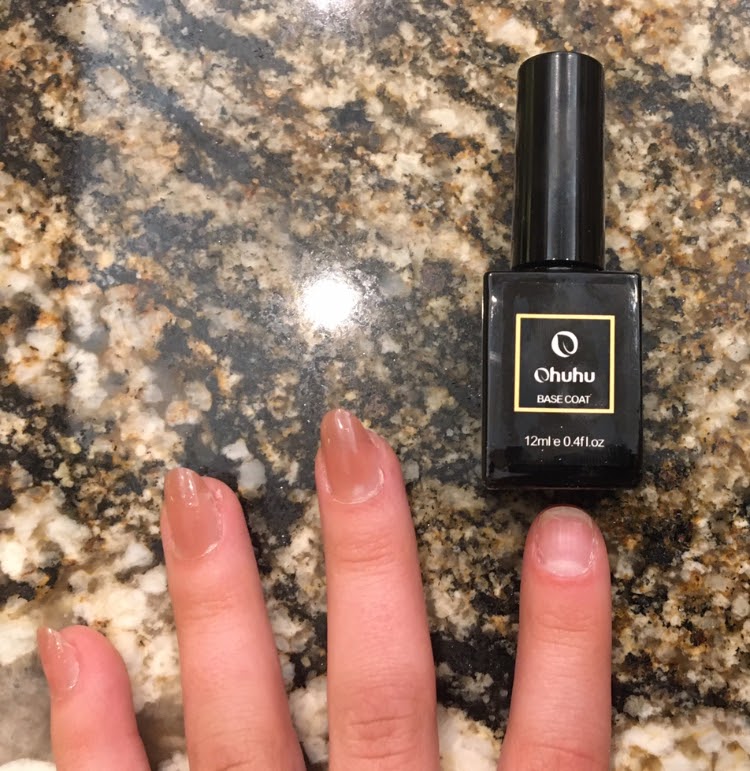
- Polygel base coat
- Polygel top coat
- A gel brush
- Plastic polygel applicator nails
You can get everything here:
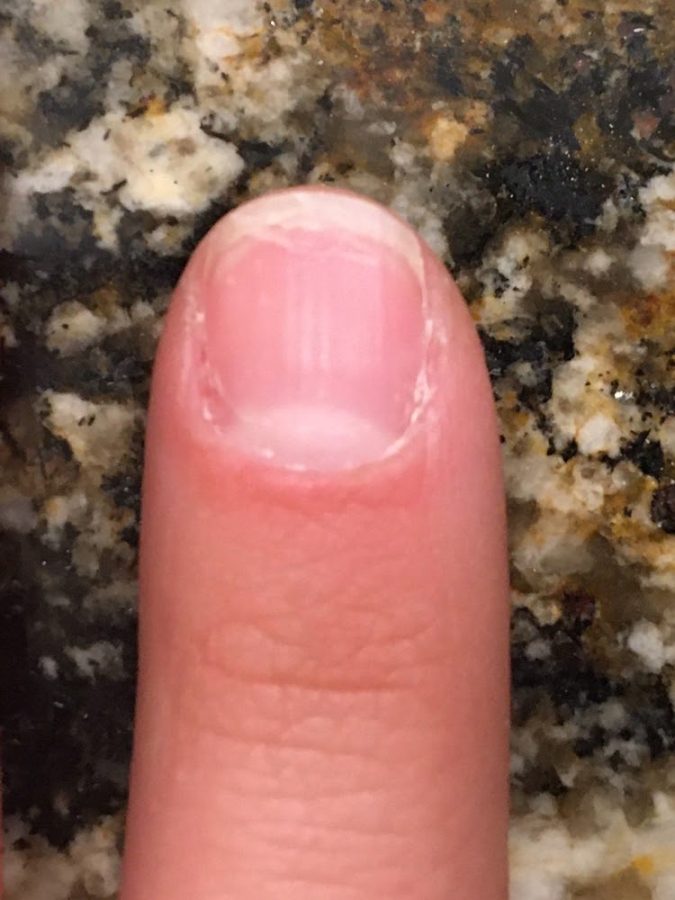
- Clean and file your nails.Step 1
- Apply a light amount of base coat.Step 2
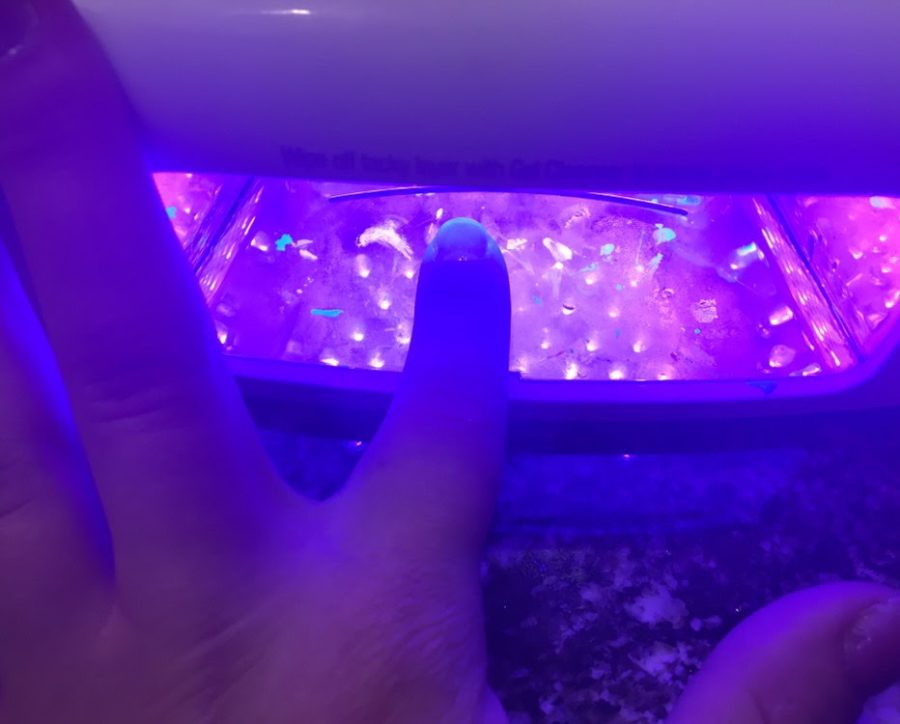
- Cure for two minutes.Step 3
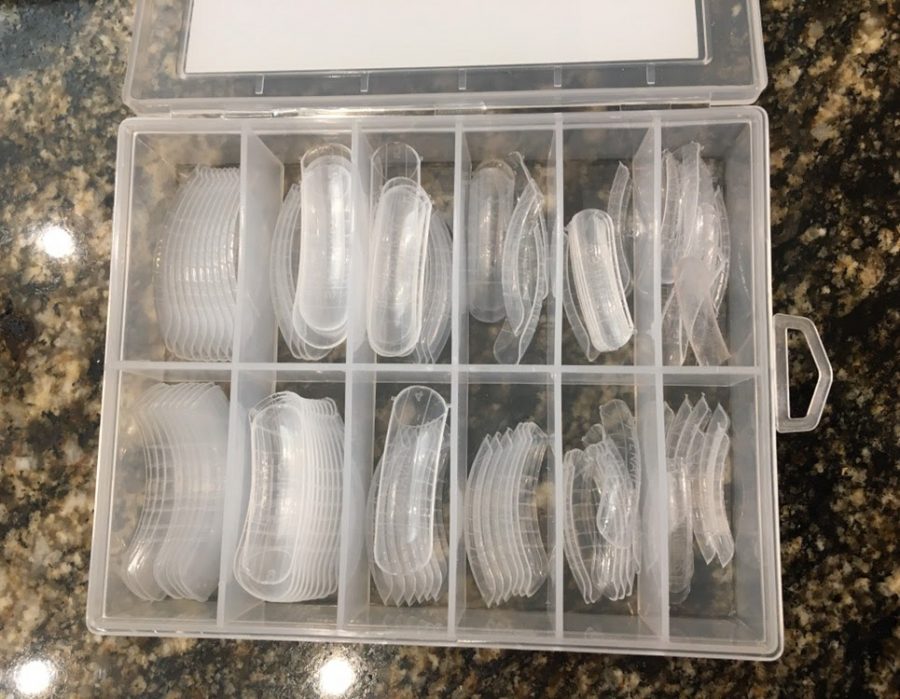
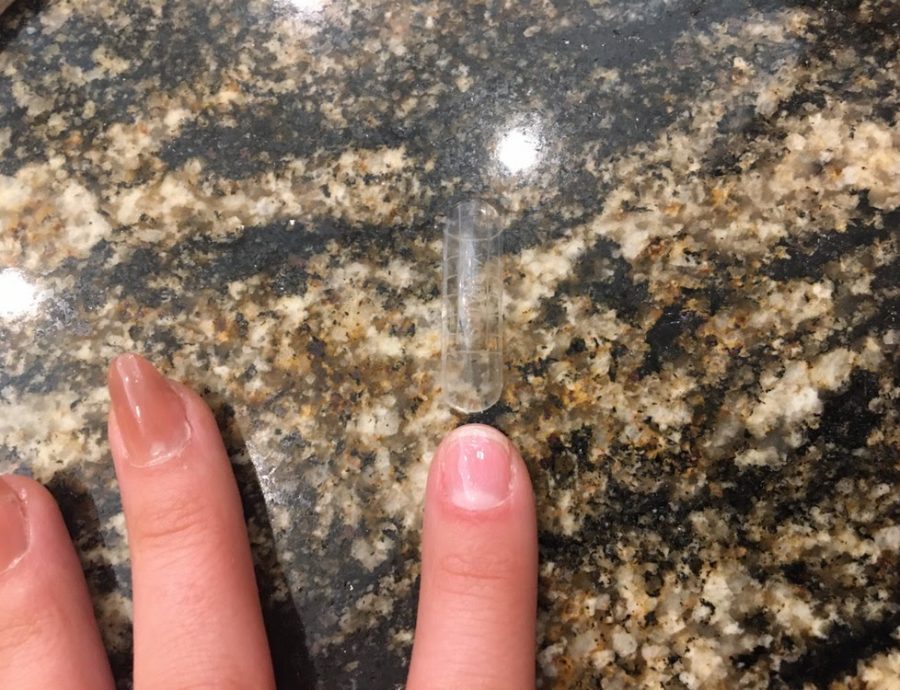
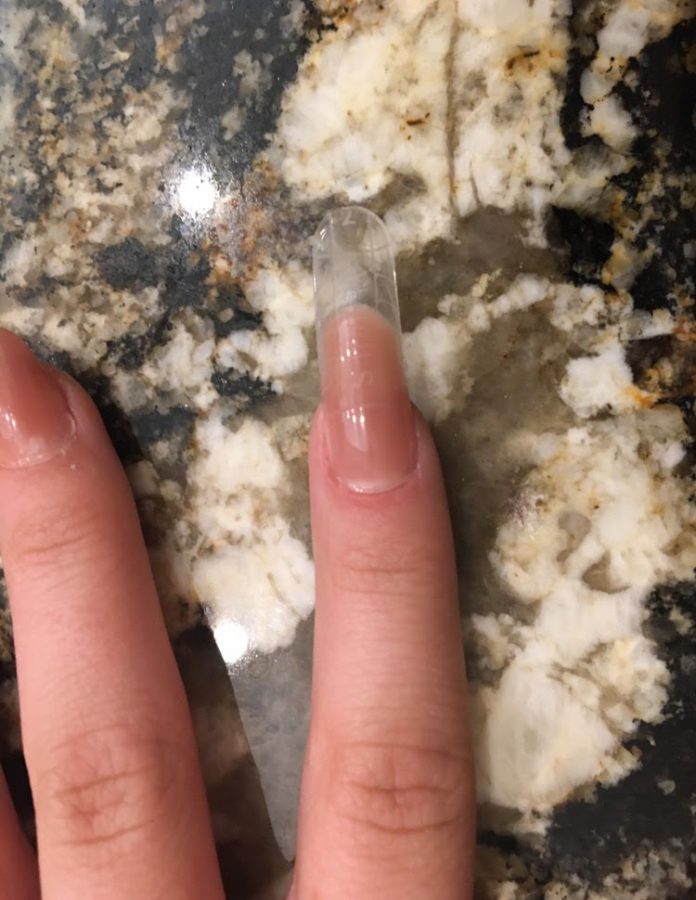
- Grab your pack of plastic nails and pick one for each nail. This should fit your nail size. For example, it should cover your whole nail but none of the remaining skin. It should lay easily on the nail and you should not have to push down to get it to fit.Step 4
- It should be like this.Step 5
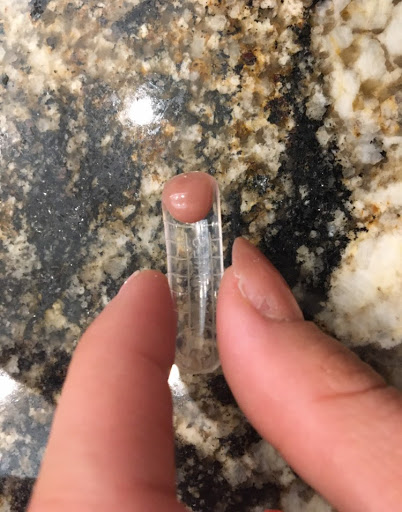
- Using whatever color you want, add a pea-sized amount of polygel to the back end, inside of the plastic nail.Step 6
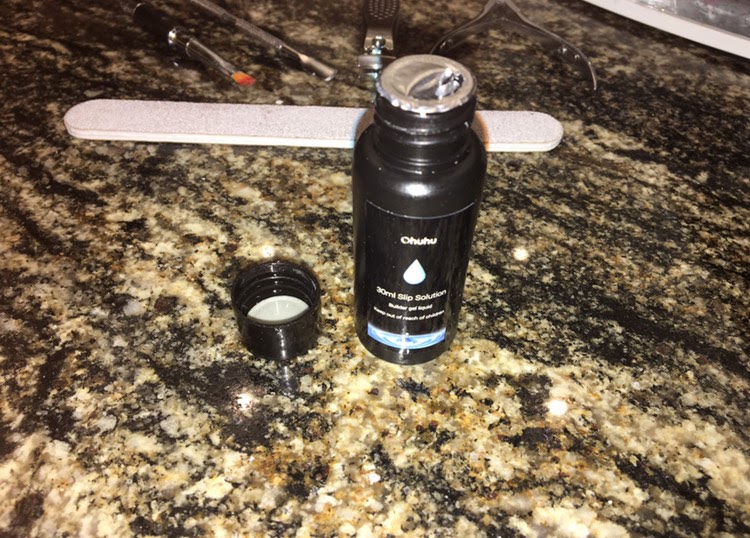
- Pour out a bit of the slip solution into the bottle cap.Step 7
- Dip your brush into the slip solution, and use that to coat the gel around the inside of the nail. The thickness depends on your liking. People who don’t like the feeling of something on their nails may want to make it thinner. Someone who doesn’t mind that much and uses their hands a lot may want it thicker. If it’s too sticky, or not that easy to spread, apply more slip solution.Step 8
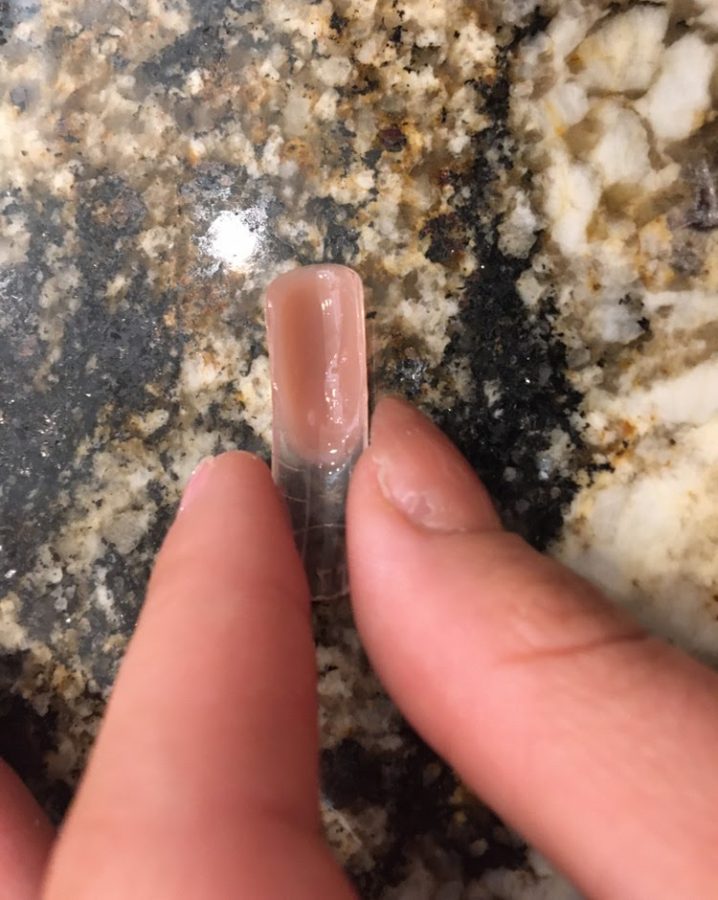
- Stick onto the nail. Make sure there are no air bubbles, and that nothing is sticking out the side.Step 9
- Cure for two minutes.Step 10
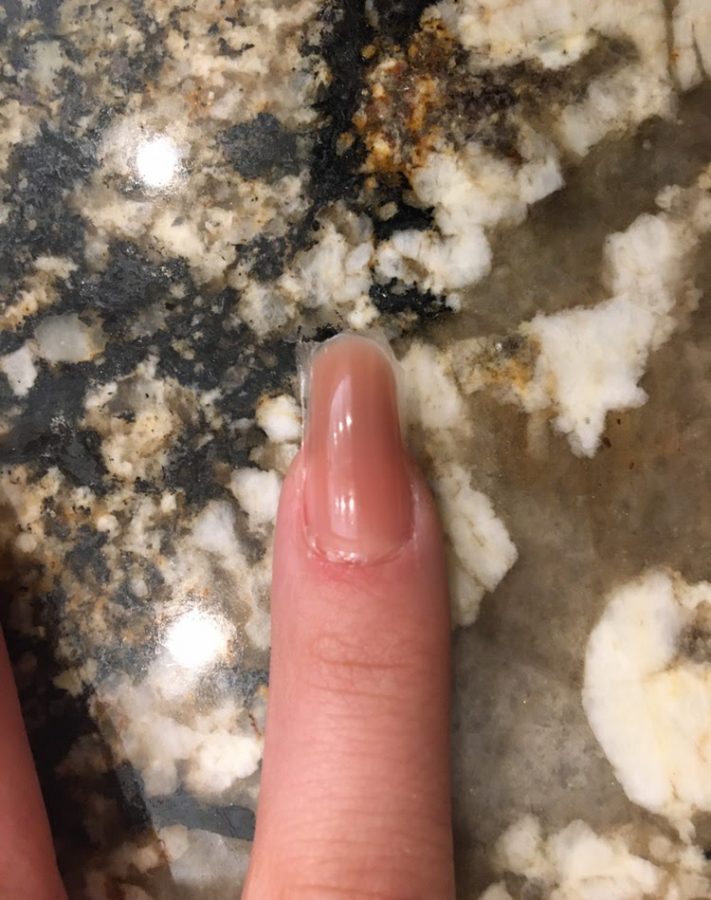
- Pop off the plastic cover.Step 11
- File into shape. I chose an almond shape.Step 12
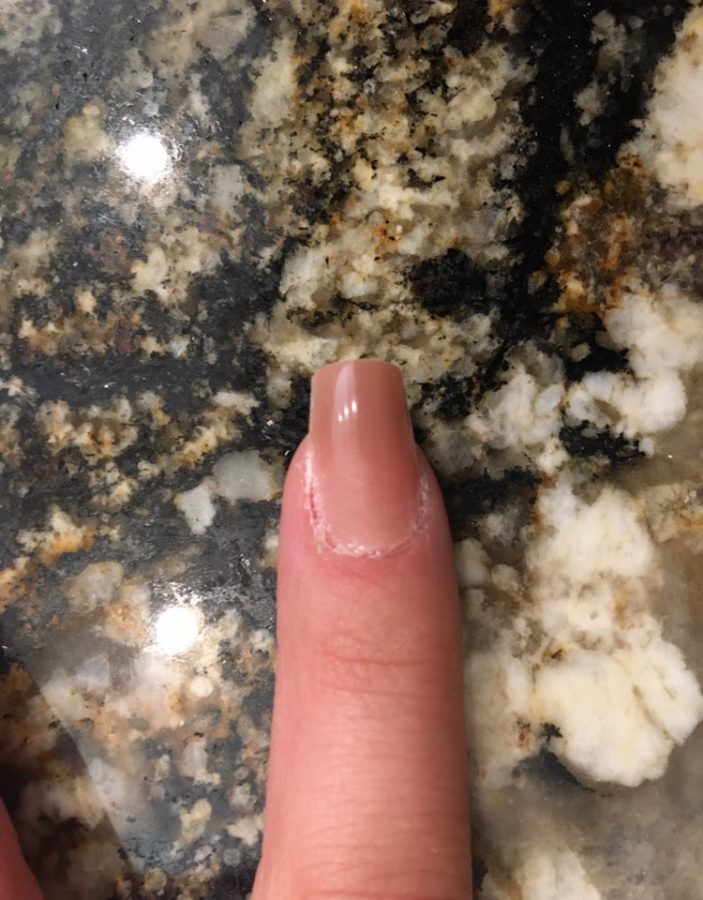
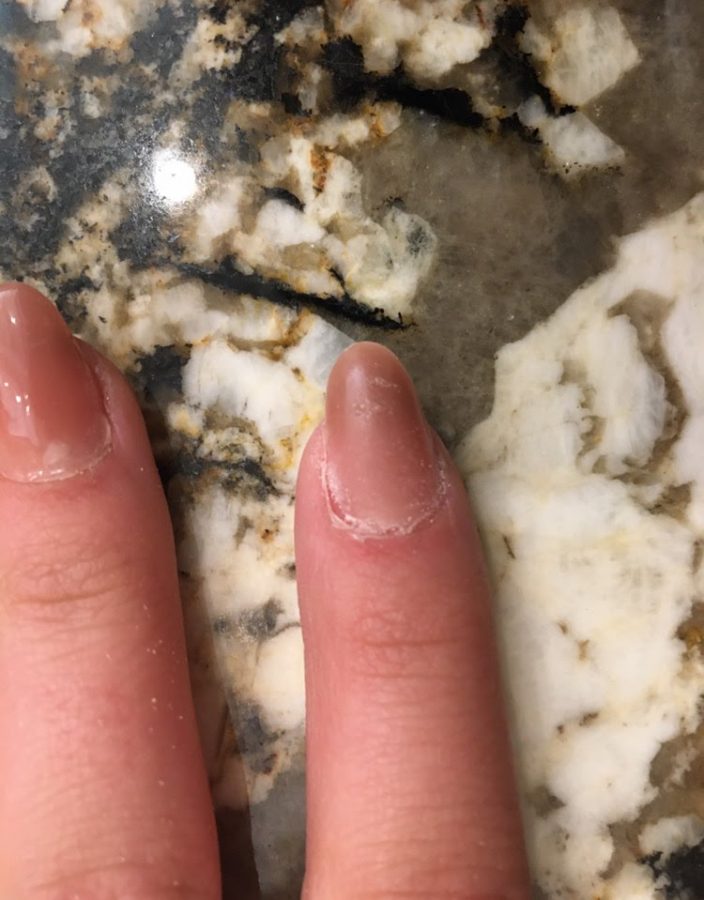
- Get any extra gel off your cuticle and apply a topcoat. There are matte and glossy topcoats. I chose glossy.Step 13
- Cure for two minutes, and you’re done!Step 14