

DIY Clay Pot Snowmen Decorations
December 13, 2013
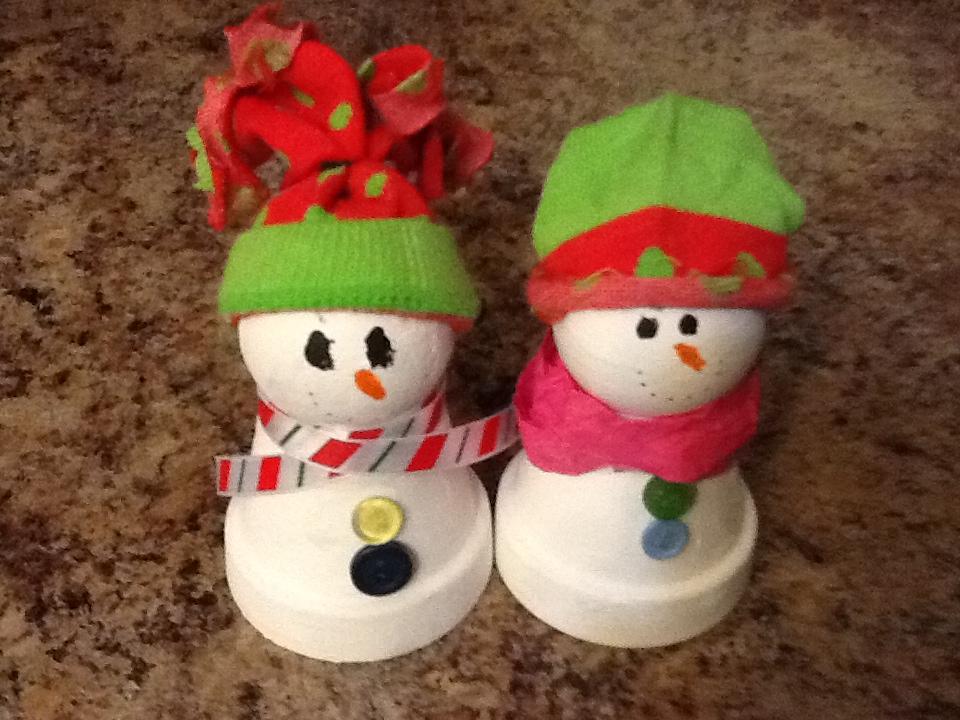
This darling snowman and snowwoman craft makes a perfect project to do with younger siblings, family, or friends this holiday season.
Materials (for each snowperson):
1- 1 1/2″ diameter wooden ball
1- 2 1/4″ diameter clay pot
2 buttons
ribbon
child’s holiday printed sock
material or mitten scrap
white craft or hot glue
black fine-tip marker
small and large paintbrushes
acrylic paints in white, orange and pink
clear coat spray
Instructions:


Place newspaper down on work surface. Turn clay pot over and the glue wooden ball to the bottom of pot.


When the glue is dry, use a large paintbrush to coat the entire of the outside of the clay pot and wooden ball with white paint. Let dry and apply a second coat.

With black fine-tip marker, dot on eyes and a mouth. Use a small paintbrush to apply orange paint for a nose and gently dab on a thin amount of pink for rosy cheeks.


Cut the toes off of a child-sized sock to create a hat. Make a brim by folding up the cuff of the sock, then position the cuff of the sock onto the “head” of the snowman . Glue the brim in place. Tie a piece of ribbon or small rubber hair tie around the top of the hat and fringe the top with scissors. Adjust the fringe edges with your fingers until you achieve the desired look.


Tie a strip of ribbon,string,or mitten scrap (etc.) around the neck to fashion a scarf. If desired, glue two buttons to the front of your snowman. I used pink tissue paper as a shawl for my snowwoman and christmas ribbon for my snowman.

This DIY is a fun and easy craft for you and your family this holiday season and can be used to add a sweet, festive touch to a room.


