DIY Scrunchies
A quick, fun, and affordable way to make popular hair accessories.
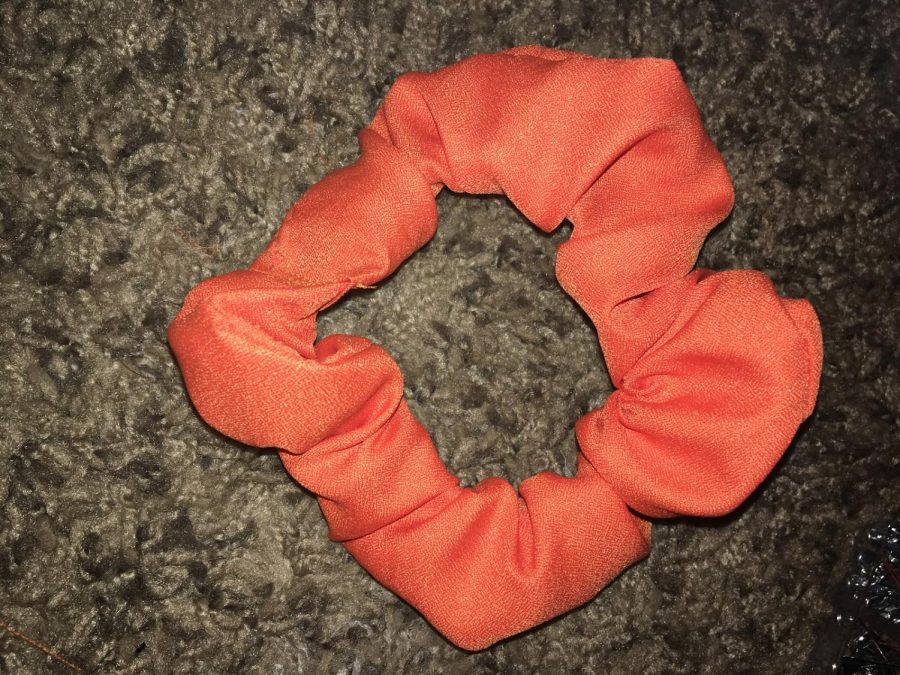
The finished product.
November 5, 2020
Almost everyone is familiar with the cute hair accessories known as scrunchies, but the problem is that it’s impossible to own just one! I know that a lot of wallets probably agree with me that scrunchies aren’t the cheapest thing in the world. That’s why it’s much cheaper and loads more fun to make them yourself! A DIY scrunchie is easy to make and only takes ten minutes, max. If you don’t have a sewing machine, don’t worry! Here are two simple ways to create adorable accessories, by hand, and with a sewing machine. First, let’s start with by hand.
Materials:
- Scissors
- Fabric
- Pins
- A normal hair tie
- Needles
- Thread
Directions:
- Start by cutting a 18 inch by 4 inch piece of fabric of your choice. I recommend using cotton on your first time, as it is easier to work with. Then, pick out your thread and needle.
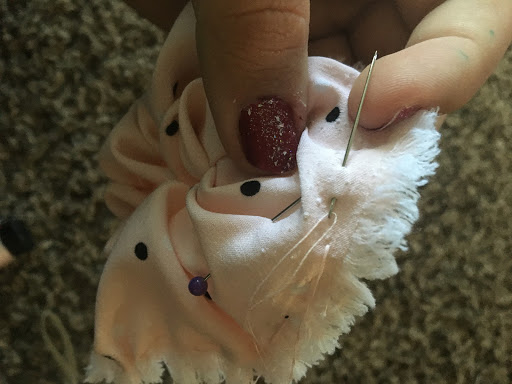
- Thread your needle and get out the hair tie. Start to put your fabric around your hair tie with the “wrong” (frayed) side showing outwards. Pin your fabric as needed. Work your way around using all of your fabric.Step 2
- Now you can start to sew your scrunchie. Sew along the end of the fabric. When you get to the end, do not sew the two ends of the fabric together. You should be left with the frayed side of the fabric showing outward, and a seam along the top. Tie a knot at the end of the thread and cut it loose. Remove pins.Step 3
- Turn your fabric inside out. Put one end of the fabric into the other. Now you can use your remaining thread to sew the two edges of the scrunchie together.Step 4


If you don’t feel up to sewing by hand, you can also make these fun accessories with a sewing machine.
Materials:
- Sewing machine
- Pins
- Fabric
- Thread
- Scissors
- Elastic
- Safety pins
Directions:
- Cut a 24 inch by 4 inch piece of fabric and 8 inches of elastic. I recommend using ¼ inch elastic, but any thin elastic can work. Thread your sewing machine.
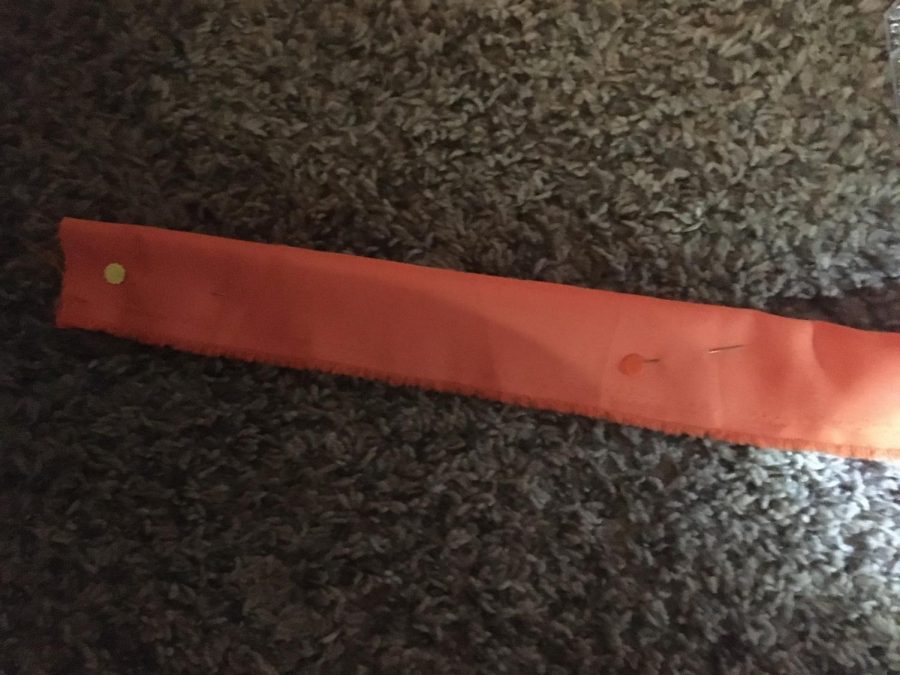
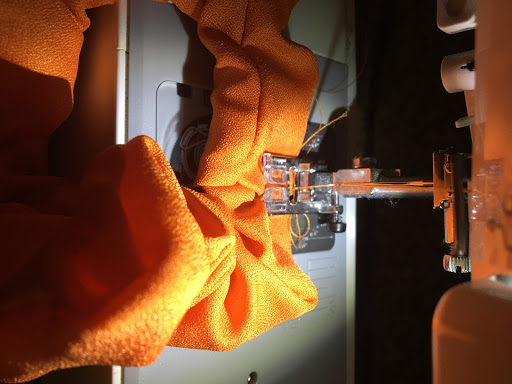
- Fold your fabric horizontally with the frayed side facing outwards. Pin as needed.
Step 2
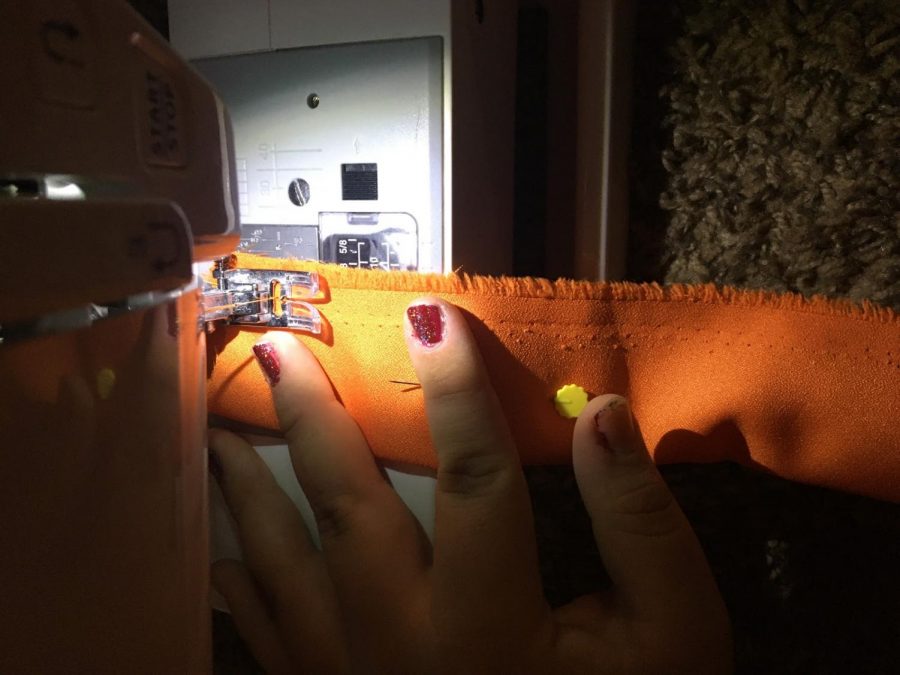
- Sew a seam along the two edges of the fabric. Take off the sewing machine and turn the fabric inside-out.
Step 3
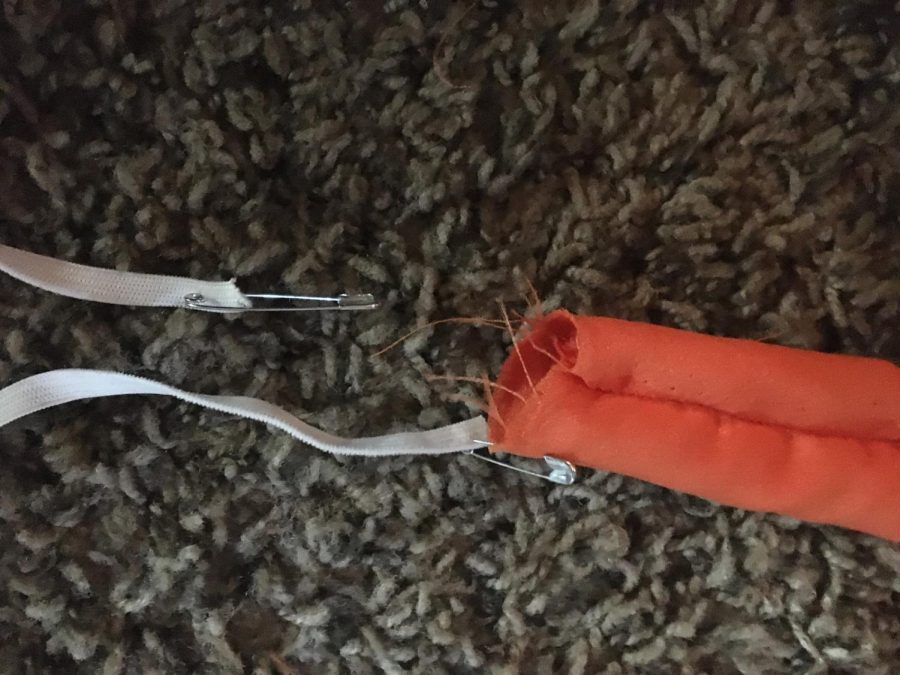
- Get your elastic. Using a safety pin, pin one side of the elastic to one side of the fabric. Put a safety pin on the other end of the elastic, but do not connect it to the fabric.
Step 4
- Pull the elastic through the fabric. Don’t worry if it scrunches up. Proceed to pull the elastic through the fabric and pin it to the other side of the fabric once it is through.
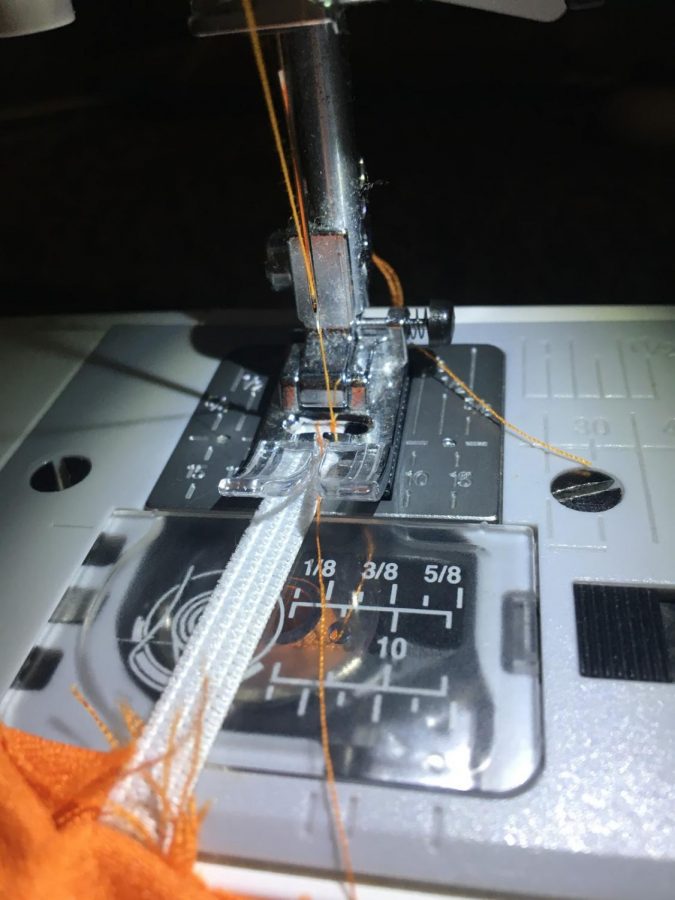
- Either tie or sew the elastic together. Make sure it is secure.Step 6
- Tuck one end of the fabric into the other and sew close. Ta-da!Step Seven