

Making Great Music for a Great Price
The tools and virtual instruments used in professional music creation can cost hundreds or even thousands of dollars. How can you make your own music without having to pay all that money?
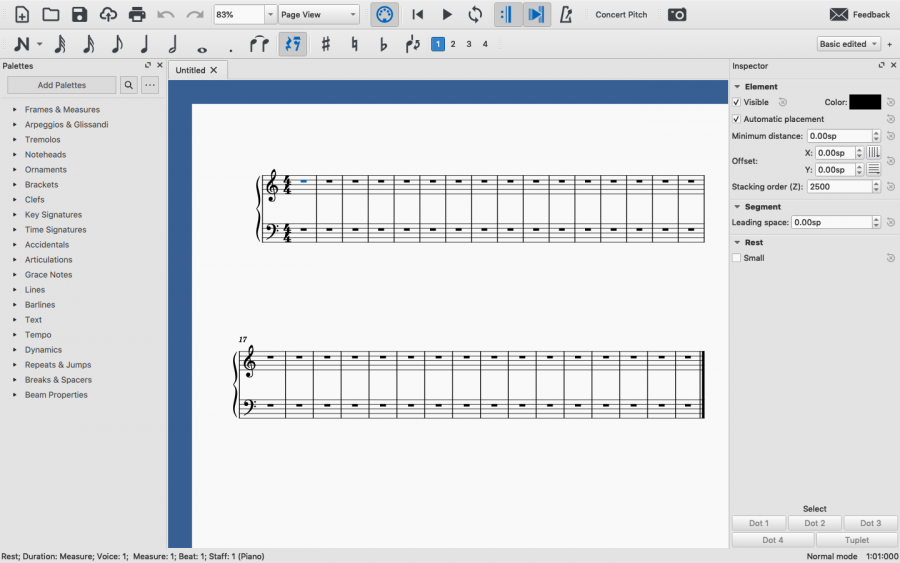
An image of MuseScore 3.6.
February 17, 2021
Depending on what genre you’re interested in making, the process of music creation can look very different. If you write classical or jazz, you may just create some sheet music and then give it to someone (or keep it) to perform. If you are into rap, then maybe you just add some drums and low voices to your vocal track. But for most modern genres, you will probably be using a digital audio workstation (DAW).
DAWs are important because they can load MIDI input or MIDI files. According to Sweetwater, MIDI files are like your Google Doc or Microsoft Word files and the MIDI input is like your keyboard on your computer. The only difference is, MIDI is for audio. MIDI is very different from audio files like .wav, .mp3, and .ogg. MIDI is just a series of data that has the length, pitch, and dynamic (volume) of notes. MIDI files also contain other, more trivial information that is less important for the creation of music in a DAW. Since MIDI files only carry pure information, a 7 minute song with 28 tracks only takes up about 145KB. For reference, the average size of a photo taken on your phone is over 8MB (8000KB).
So, what do you need to make a song? For any song that has virtual instruments (synths, drums, strings, etc.) a DAW is required. There are lots of free DAWs out there and when trying to choose, try to find one that has support for VST plugins. Garage Band can work but its capabilities are limited. A good, free DAW app is Pro Tools First, a limited version of the paid Pro Tools.
Another thing you will need is some sort of software that can create MIDI files. This is where you will create the actual song and then export the MIDI file to open it in your DAW (some DAWs can create MIDI tracks but usually it is faster and easier to do it in a separate software). I heavily recommend MuseScore to create MIDI files if you know how to read music. MuseScore is a free notation software with decent built-in sounds but is very useful for writing your song as it lets you change tempo, key, transpose, and more very easily.
The last thing you will need is a handful of plugins, and make sure that they are compatible with your operating system and your DAW. VST plugins can be used for effects, but more importantly for virtual instruments. Plugins are what will give your song a unique sound. You can search online to find some that have a sound that you like and you can even have two or more plugins playing the same part to get some unique sounds. I highly recommend Spitfire Audio’s LABS. LABS is a free collection of very high quality VST (and other formats as well) virtual instruments that will make almost anything sound great (the LABS strings are my personal favorite). The virtual instruments included in LABS are of equal or similar quality to some other plugins you may find that cost up to $200.
Now for the fun part: making your music. Open up MuseScore or another MIDI software of your choice. If you are using a notation software like MuseScore, starting with just a piano is always a good idea so you can hear all the parts on the same instrument and test out chords.
If you have a piano or guitar, even better! If you have an instrument that has a MIDI output, you can take a cable that has MIDI on one side and USB on the other, and use it to plug your keyboard or guitar straight into your computer. You may have to mess with some settings but then when you press a key on the keyboard it will show up in your DAW. When you play this back, it will take whatever you played on the keyboard and use the sound that is applied to the track.
Once you have created your song in a notation or other software, go to File>Export (or “Save As”) and save your music in MIDI or standard MIDI format (.mid). Every track that you made will remain a separate track in the MIDI file. You do not have to have all your tracks for each instrument already made when you export the MIDI file. You can just have it all on 2 tracks, high voices and low voices.
Next, you want to install your plugins. This process will vary depending on your software and operating system. For Mac users, your best bet is to find plugins that have an installer (.dmg or .pkg) and proceed to install them as you would any other software. For Windows users, you can either use the installer for the plugin and proceed with installation as usual. Or, if no installer is provided, take the .vst or whatever file type the plugin is and drop it into your DAW’s plugins folder. You may have to search how to do this for your specific DAW because they all have slightly different plugin systems.
After you have all your plugins, go to File>Import (or “Open”) in your DAW and then locate your MIDI file and open it. Most likely, you will see a track in your DAW for every track you created in your other software. Your MIDI tracks will probably show up as a bunch of boxes showing the notes. Next, if you are going to sing or play an instrument, do this before you start putting things on different tracks. This way, if your rhythm is slightly off, you can go in and make slight adjustments to length and rhythm of notes to match your singing/playing. Then add a track for every instrument you want (drums could be one or multiple tracks depending on the plugin and DAW). Note that some plugins (especially strings) will have a staccato (may be called spiccato or just short) articulation and a sustained one. If you want sustained and short articulation for an instrument, create a different track for each. Then find the part in the imported MIDI tracks and copy and past the notes to their correct track.
Don’t forget to save (File>Save, Control + s, or Command + s) your work often! Softwares that manage large libraries (like plugins) have a tendency to crash at the absolute worst times. You need to be especially careful about saving your work often if you are on a computer that is not very powerful.
After you have moved all your notes to their correct tracks and you have something you like, go to File>Export and export your project as your desired audio format. When you are choosing an export format, keep in mind what device you will be playing the song on. Computers can play pretty much every audio format but phones have a more limited selection. You might think you can just convert the file type but when you do that, weird things can happen to the audio. So if you accidentally exported the wrong file type, just reopen the file in your DAW and export it again. You can also export it as a MIDI file again and each track you created will be a track in the MIDI file just like you did earlier.
Now that you know how to create music using a DAW, here are some tips that will help you.
- As was stated earlier, save often. There are few things worse than losing 10+ hours of work because your computer died or your DAW crashed.
- When recording an instrument, place the microphone at least a few feet away from the instrument. The reason for this is that instruments produce overtones that are quieter than the pitch of the note being played. This will make sure the mic does not pick up as many of these overtones or the sound of keys being pressed, fingers moving on a fingerboard, etc.
- Spend some time just exploring your DAW and look up tutorials and such. The best way to get familiar with this process is to experiment with things. If it does not work, that is okay! Keep experimenting until you find something you like.
While the process of making music digitally may sound complex, it does not take long to learn. Although professional tools are very expensive, with a little creativity and some resourcefulness, you can make something just as good with free alternatives.


