

DIY Bracelet
How to make a homemade wax string bracelet.
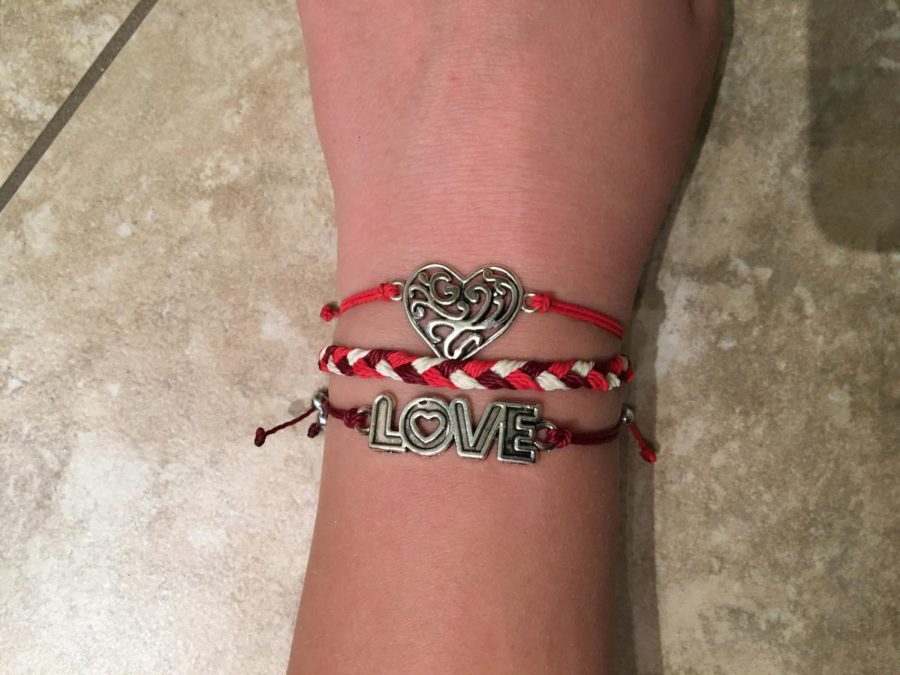
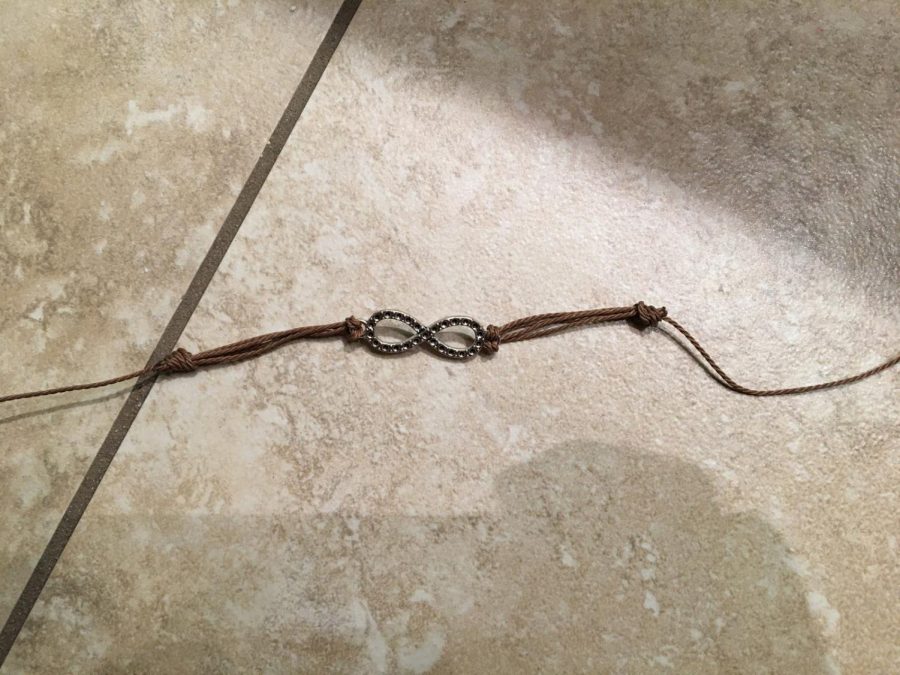
The finished product
March 22, 2021
Materials:
- Waxed yarn (any color)
- A two sided charm of your choice
- A lighter
- A pair of scissors
Instructions:
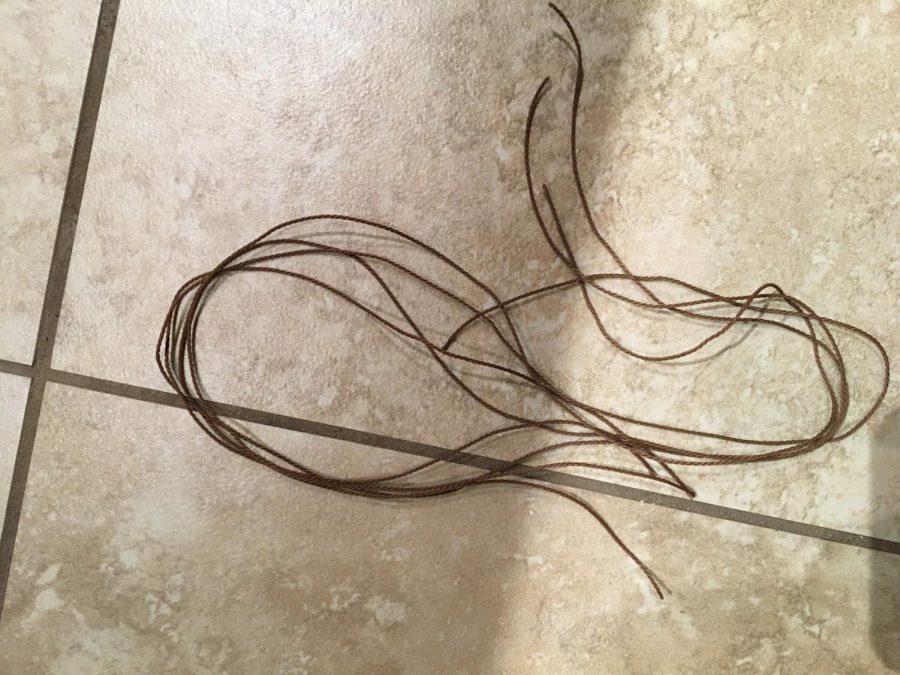
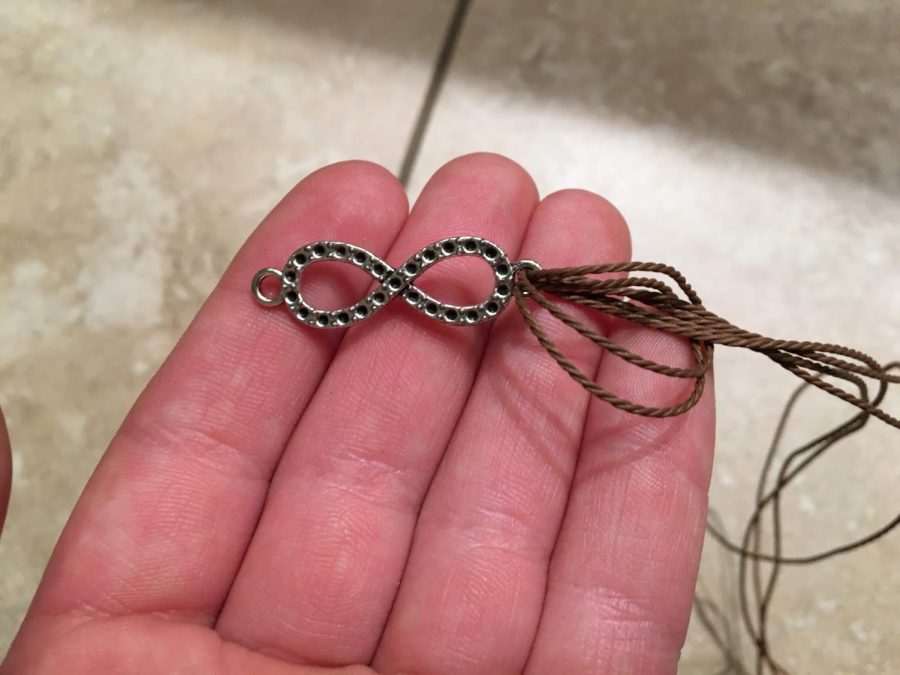
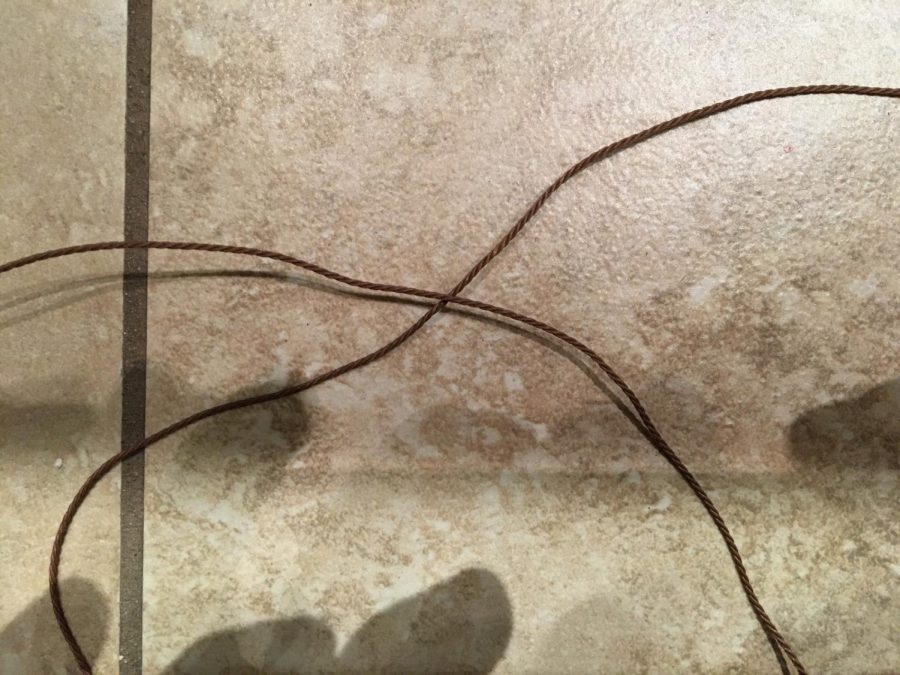
- Cut off four equal lengths of waxed string.Step 1
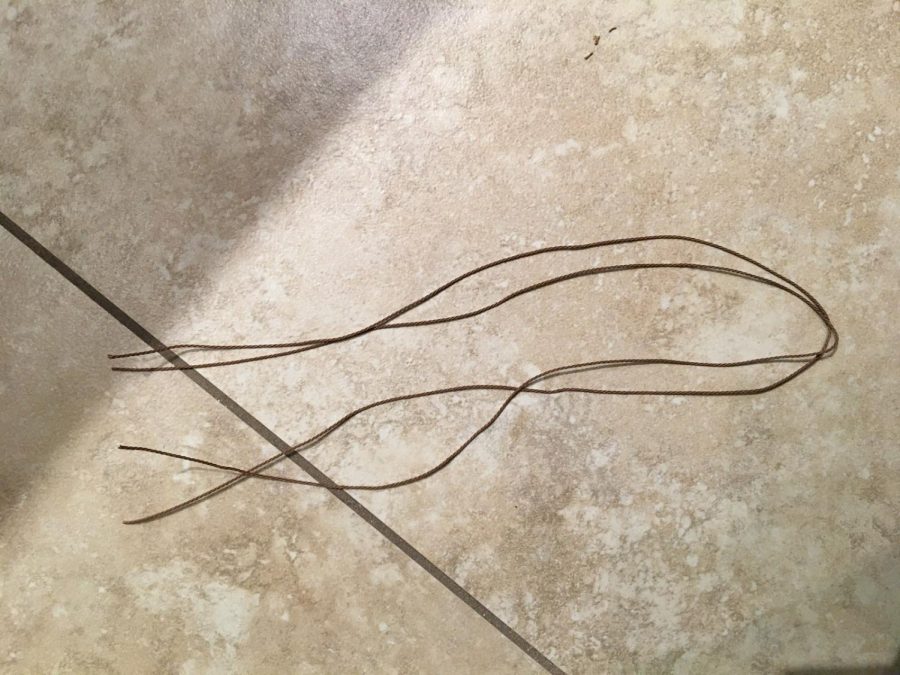
- Separate out two strings and fold in half.Step 2
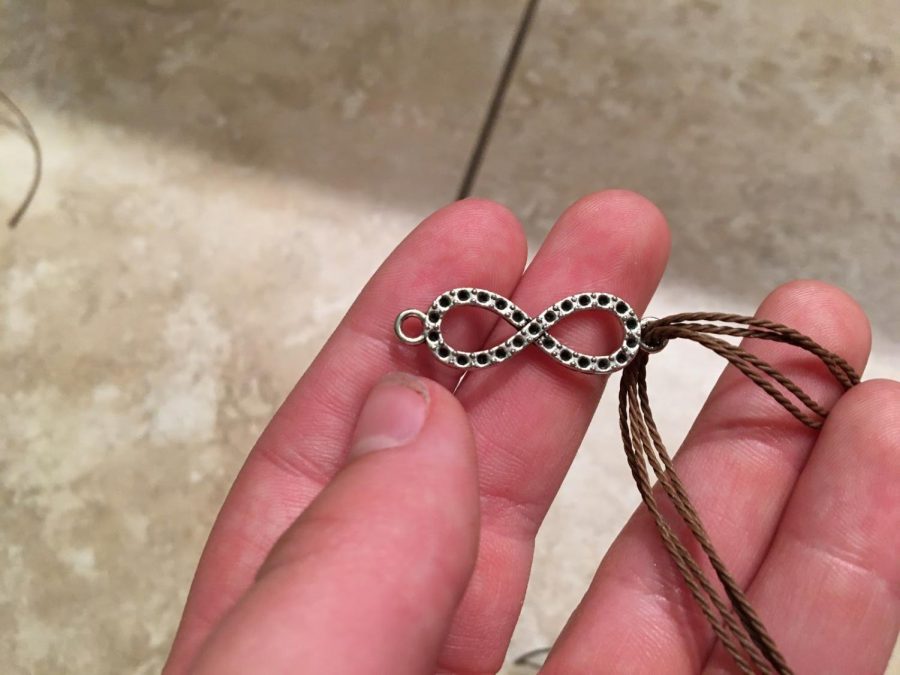
- Put the fold upward through the hole in the charm, and pull out about a half an inch.Step 3
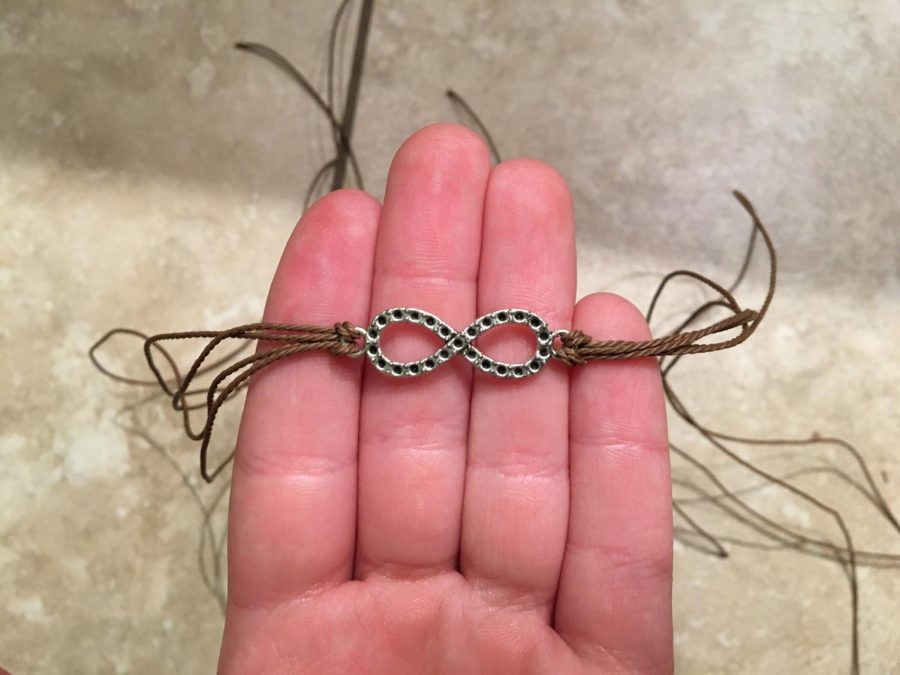
- Put the tail of the string through the loop in the string, and pull tight.Step 4
- Do the same to the other side.Step 5
- Place the bracelet over your wrist and tie a knot at the side of your wrist.Step 6
- Do the same to the other side.Step 7
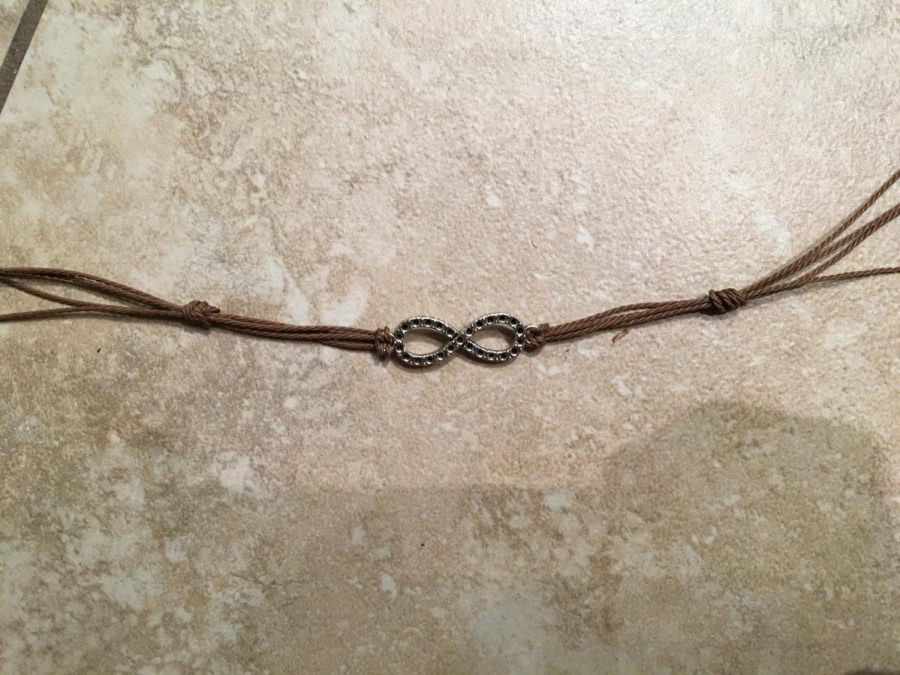
- Snip all but one string on the tie of the bracelet. Use the lighter to sear the ends. Don’t touch the flame to the bracelet, just bring it close. Make sure you are being safe and ask an adult for help if you need it.Step 8
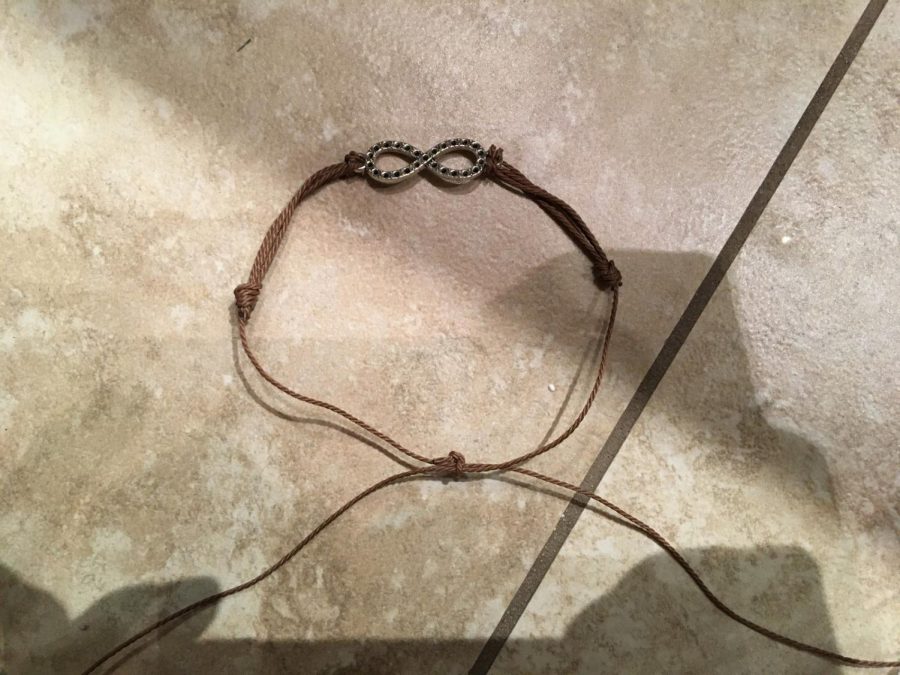
- Cross the two tie strings over each other, and place a loose piece of string under the two tie strings.Step 9
- Double knot the loose string around the crossed pull strings.Step 10
- The bracelet should look like the below image. You can tie silver beads to the end of the pull strings if you like.
- Step 11


You can make lots of adorable sets from this technique. To make the braided bracelet, take two strings of three different colors and braid them. Then, just repeat steps from the other bracelet.
These bracelets are totally customizable and can fit anyone’s hand. The best things about these bracelets are that they represent you. These bracelets can tell stories, be worn just for fashion, and even be used as gifts. Use these bracelets to say something about yourself!


