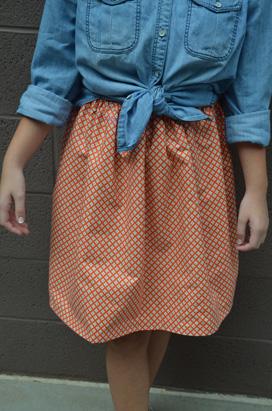
(Almost) No-Sew Stylish Skirt
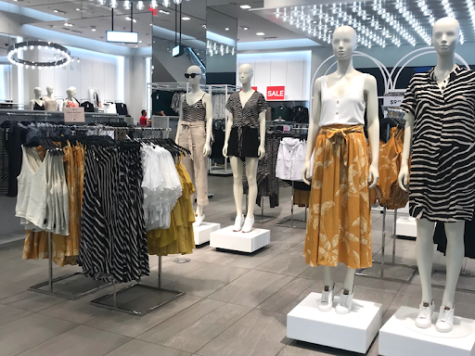
In stores, it can be hard to find exactly what you want, especially when it comes to skirts. They’re either too thin, too thick, too tight, too short, too long, or just don’t fit. So why not make the skirt yourself? With this DIY, you can do just that with any measurements that fit you and not some store mannequin. You can also personalize it by using whatever fabric you want, and all you need to know is how to glue and sew by hand.
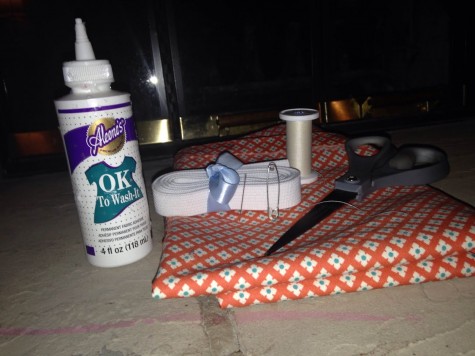
Materials:
Fabric (I used 1.5 yards)
Fabric Glue
Scissors
Elastic
Safety Pin
Needle
Thread
1.) Ironing
To keep wrinkles and creases out of your fabric, you’ll want to iron it first. Keep it folded once because you’ll need it like that later on (If it were paper, it would be folded hot dog style). Make sure the wrong sides (the sides that people won’t see–the insides) are together.

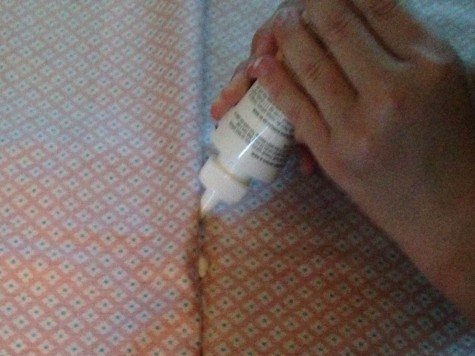
2.) Beginning to Glue
The first thing to glue is the top of your fabric. With the folded side as the top, measure the width of the elastic and fold the fabric over that flap, leaving just enough fabric for you to potentially fit the elastic through. But, to account for the glue spreading, you may want to glue it farther from the top than you usually would. Then you’re going to stick the nozzle of the fabric glue under the top layer of fabric and put a layer of glue there. Then press the two layers of fabric together and wait for it to dry.
Tip: To speed up the drying, use a hair dryer!
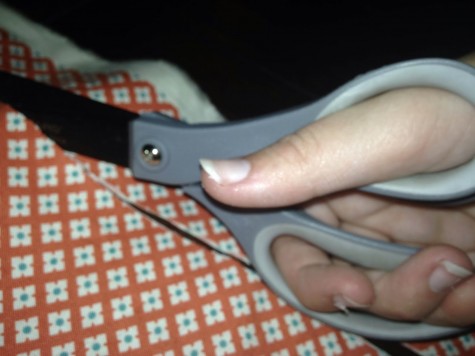
3.) Trimming
Line up the bottom of the skirt and cut the edges off. You don’t want any uneven ends or selvages on your clothing. Feel free to cut this at any length you want
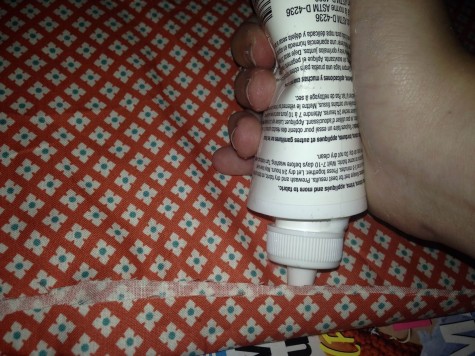
4.) Gluing Again
Glue the open ends of the fabric together. So far, these should be the right side, the left side, and the bottom. But when gluing the bottom, turn the fabric up on whatever side you want to be facing in, hemming it. This will become the new wrong side.
5.) Making Ends Meet
Once the left and right sides are dried, they must be glued together. Make sure the right sides are facing each other and glue on the edge. This will give the skirt its shape. But don’t glue the open ends together aka the fabric you folded over for the elastic. And don’t worry if the skirt is big. The waist will shrink to your size once you put in the elastic.
6.) Elastic
The elastic is what is going to make your skirt fit you and stay up. To measure your waist, put a safety pin on one end of the elastic and pull the rest all the way around until it’s slightly tight. Then cut the elastic next to the safety pin.
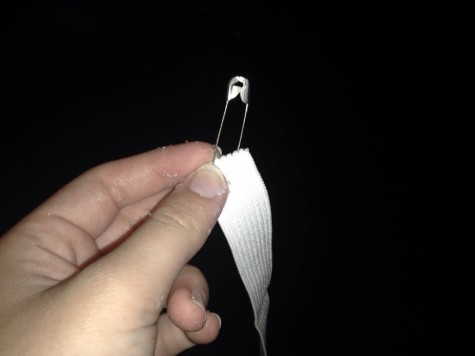
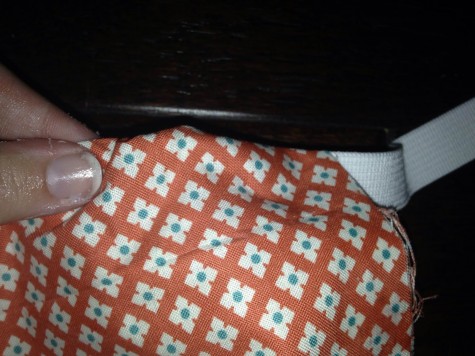
7.) Pull It Through
Unpin one end of the elastic and stick the safety pin in one of the holes designated for it. Bunch up the fabric so you can pull the safety pin, and therefore the elastic, farther into the skirt. Do this all the way around, but don’t let the other end into the skirt. That will be hard to get out. Once you get the safety pin end all the way around, unpin it and hold the two ends together.
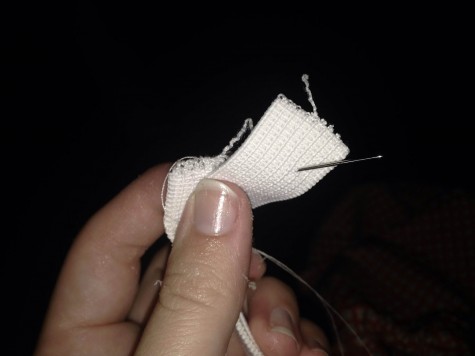
8.) Sewing Time!
Thread your needle and begin hand-sewing the two ends of the elastic together. This ensures it will stay, while the safety pin tends to pop open after a few hours.
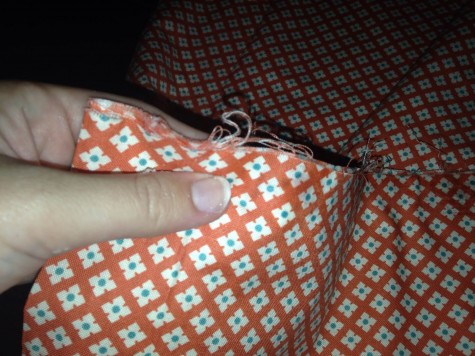
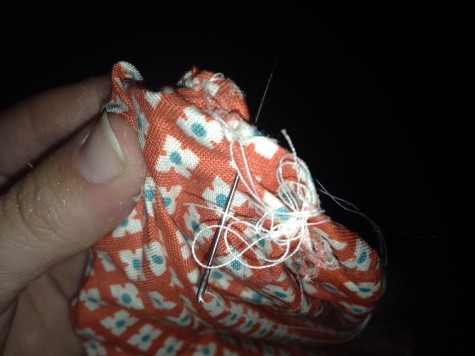
9.) …And more Sewing
Let the elastic go and push it in if you need to. But now you’re going to hand-sew the part of the skirt you didn’t glue. This will keep the elastic in and make the skirt looks cleaner and more professional.
Now you’ve created a new, original skirt to add to your wardrobe. Take creative liberty and add details if you think your skirt is too plain, and don’t be afraid to personalize. And if you feel like you have too many skirts (creativity can become addictive), make one for a friend. This DIY is great for gifts, as anyone who wears skirts will appreciate a very personal item of clothing.

Also an avid reader and writer, Lauren takes Journalism to expand her knowledge on the world of nonfiction and news writing. She writes to share her opinions and creativity with people other than just herself and close friends. But she hopes to someday share her writing with the world through books as a published author. When not writing, she doesn’t mind having some downtime to watch shows like Doctor Who on Netflix or reading and fangirling over her favorite books. She also loves her two cats and spends time trying to get them to sit on her when she wants them to, which rarely happens because they have minds of their own.